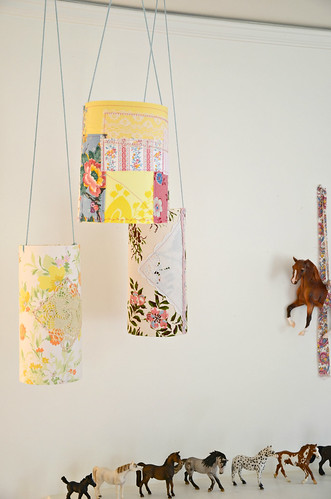
Oh hooray, it's a happy how-to! Today I will be showing you how to make some very simple Pretty Patchy Paper Lanterns, my that is a mouthful isn't it? These are just the thing to brighten up a drab corner, to add a festive air to a dull day, to use as decoration for a party, or to make just because they are so darn sweet! As is often the case with my tutorials, this is a project that works wonderfully using up your odds and ends, bits and bobs, and scraps of many sizes.
I shall begin with an ingredient list:* Aforementioned odds and ends of pretty fabrics. For my examples I have used mostly vintage cut offs from my scrap pile.
* Bits and bobs of lace, ribbon, trim, old hankies, what-nots and etcetera
* 2 pieces of standard A4 card stock
* Embroidery Floss and large embroidery needle
* Lengths of yarn
* Scissors, thread, glue, tape

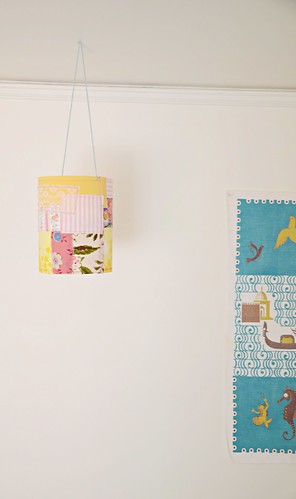
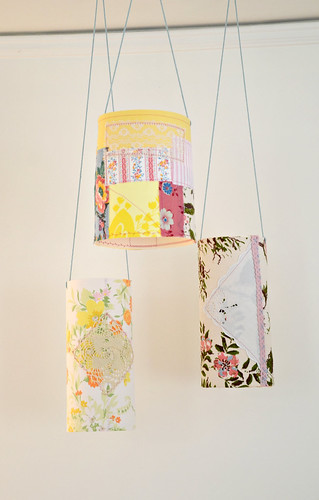
Alright then, the first lantern I'll be showing you is the plump roundy one with all the patches. Let's get started then shall we?
Start by gathering up a bunch of scraps that you think might play nicely together. Grab your 2 pieces of card stock and begin arranging your scraps on the papers. You might like to do this over a cup of tea or coffee. Just keep at it until the space is filled and you are pleased with the results.
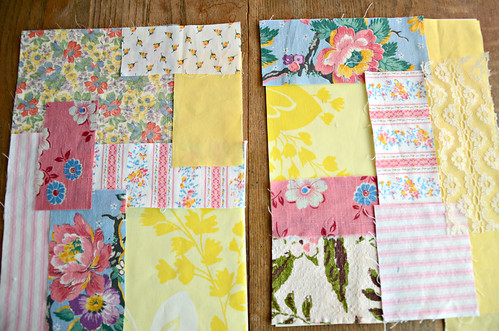
Now you may want to use just a spot of glue to keep everything in place. If you do use glue, please only use a small amount and wait for it to dry because we are about to take this over to the sewing machine and we don't want any goopy glue to muck up the works, that would be a bummer!
Take your fabric festooned card stock over to your trusty sewing machine and just begin stitching your fabric to the paper. Use a straight stitch around the edges of your scraps, or use a fancy stitch across one part and another across a different part...do what you like just as long as all of the fabric is secured to the card stock.

Ok, that was fun. Now take your 2 pieces and put them end to end with about a 1/2 inch of overlap and it's back to the sewing machine to stitch the 2 pieces together to make one long piece.

Next, we turn our patchy card stock into a tube, overlap the ends by a half inch and tape in place on the inside.
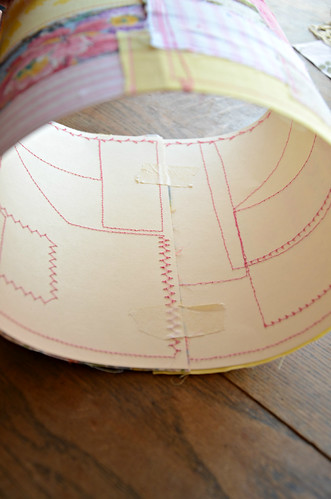
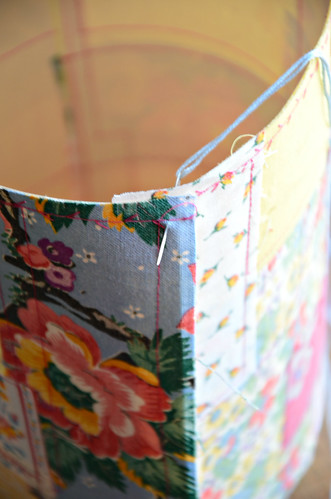
When you stand it up, it's gonna look a little wonky, but don't worry we're gonna fix it. Get out your embroidery floss and your big needle, starting from the inside of the tube, poke your threaded needle through both layers of the paper and fabric and begin stitching that flap down.
Ack! excuse the blurry photo wont you!
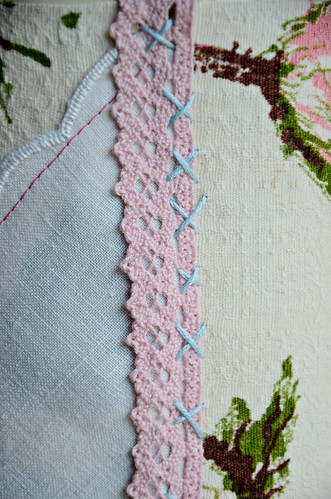
You can simply stitch all the way down using a giant running stitch, cross hatches, etc...whatever you have the patience for really. I myself did not have a great deal of patience, so it came out a little crazy. For example...
All that is left now is to add something so you can hang it up. I used some yarn, whatever length suits your particular needs. Poke a hole about a half an inch from the top of the lantern at any spot you choose. Now poke another hole directly across from the first hole and thread your yarn through the holes and tie off. Like so...

Find a spot that needs a little happy and hang up your lantern!
For the other lanterns, you start by placing your 2 pieces of card stock side by side with a half inch overlap and sew them together.

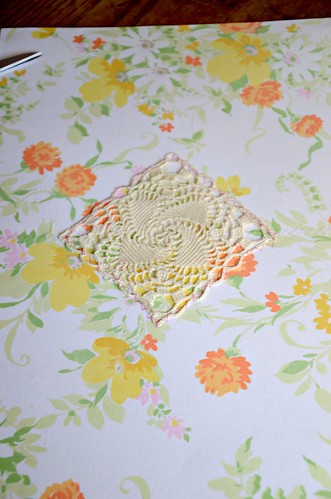
For this example I chose a piece of fabric and cut it just slightly larger than the paper. I then used some spray adhesive (you could use regular glue as well) and smoothed the fabric over the card stock.

I then used a glue stick to fold over the edges of the fabric and stick them to the back.

I added a wee doily to the lantern and stitched it in place.
Your lantern is now ready to be finished in the same way as the first example!
Go ahead, make a few...you know you want to!

As always, if you are inspired to try your hand at these Pretty Patchy Paper Lanterns, I would be most pleased if you would share your creations on the
Lola Nova Flickr group!Edited to add: These lanterns are meant to be decorative and not for use with lights or bulbs.Have a truly wonderful weekend my friends!

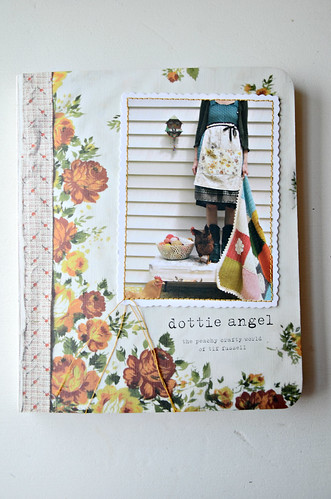
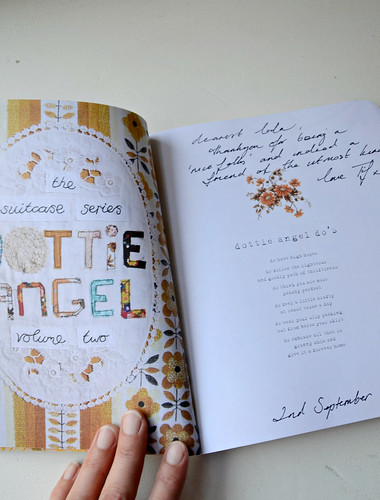
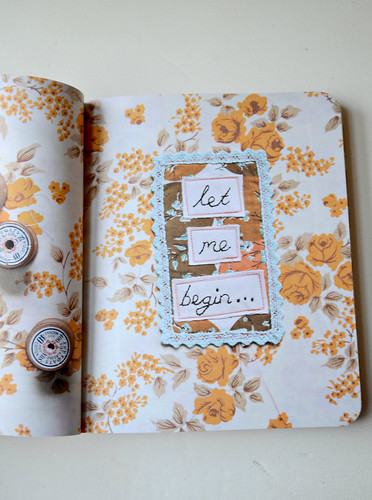
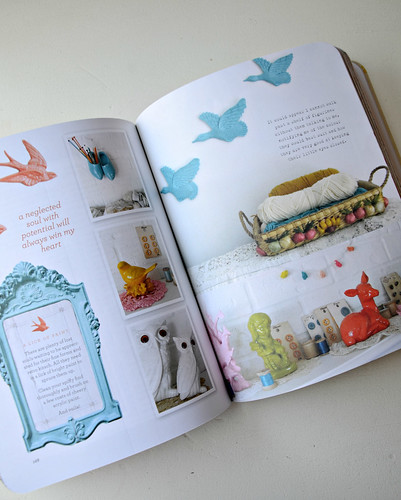
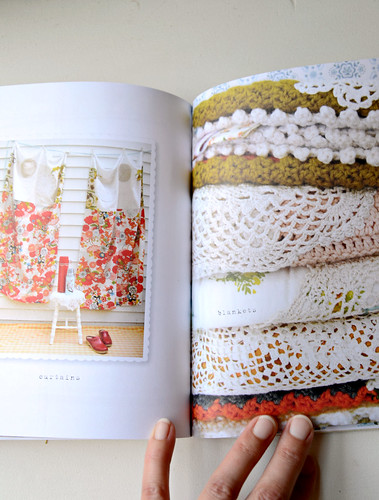
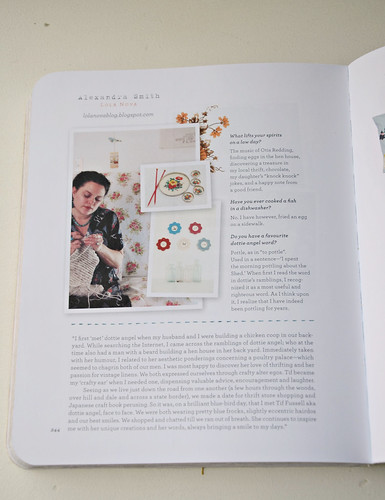
 I am all a-flutter with excitement this morning! I am packing my weekend bag and driving up the road to Seattle to attend my dear friend Tif Fussel's, Dottie Angel Book Launch! I'll be going solo, staying at a hotel and certainly having a lovely time.