
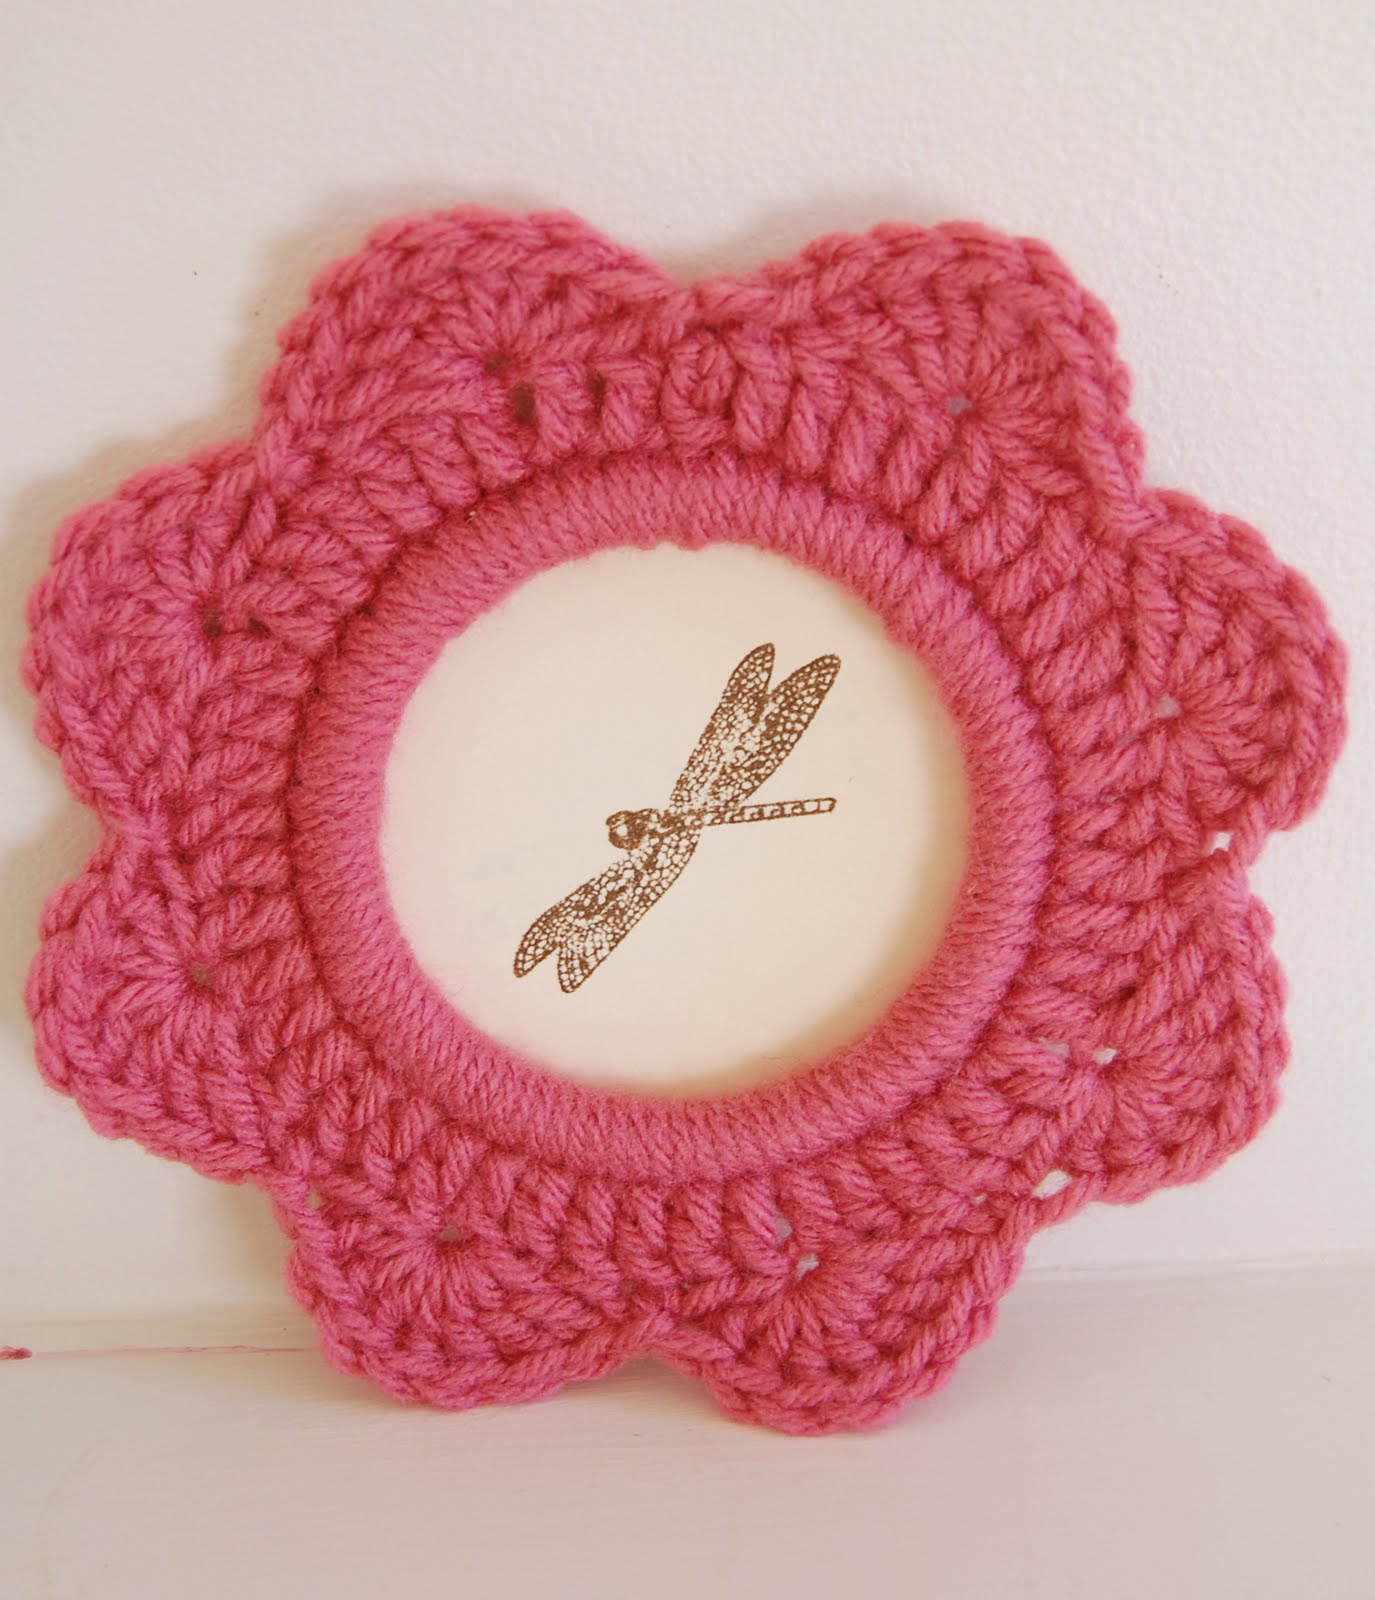
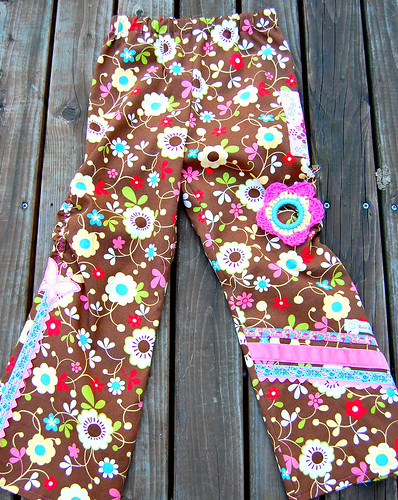
Well, here we are, my first crochet tutorial! This is ever so exciting. I keep finding new ways to use these 'Mary Go Rounds'. I've just discovered they make the most whimsical little picture frames. And of course they can be worn as bracelets for the daring and discerning fashion forward among us.

I am including a whole lot of photos in this tutorial hoping they will be a help and not a hindrance.
Let's get down to business shall we?
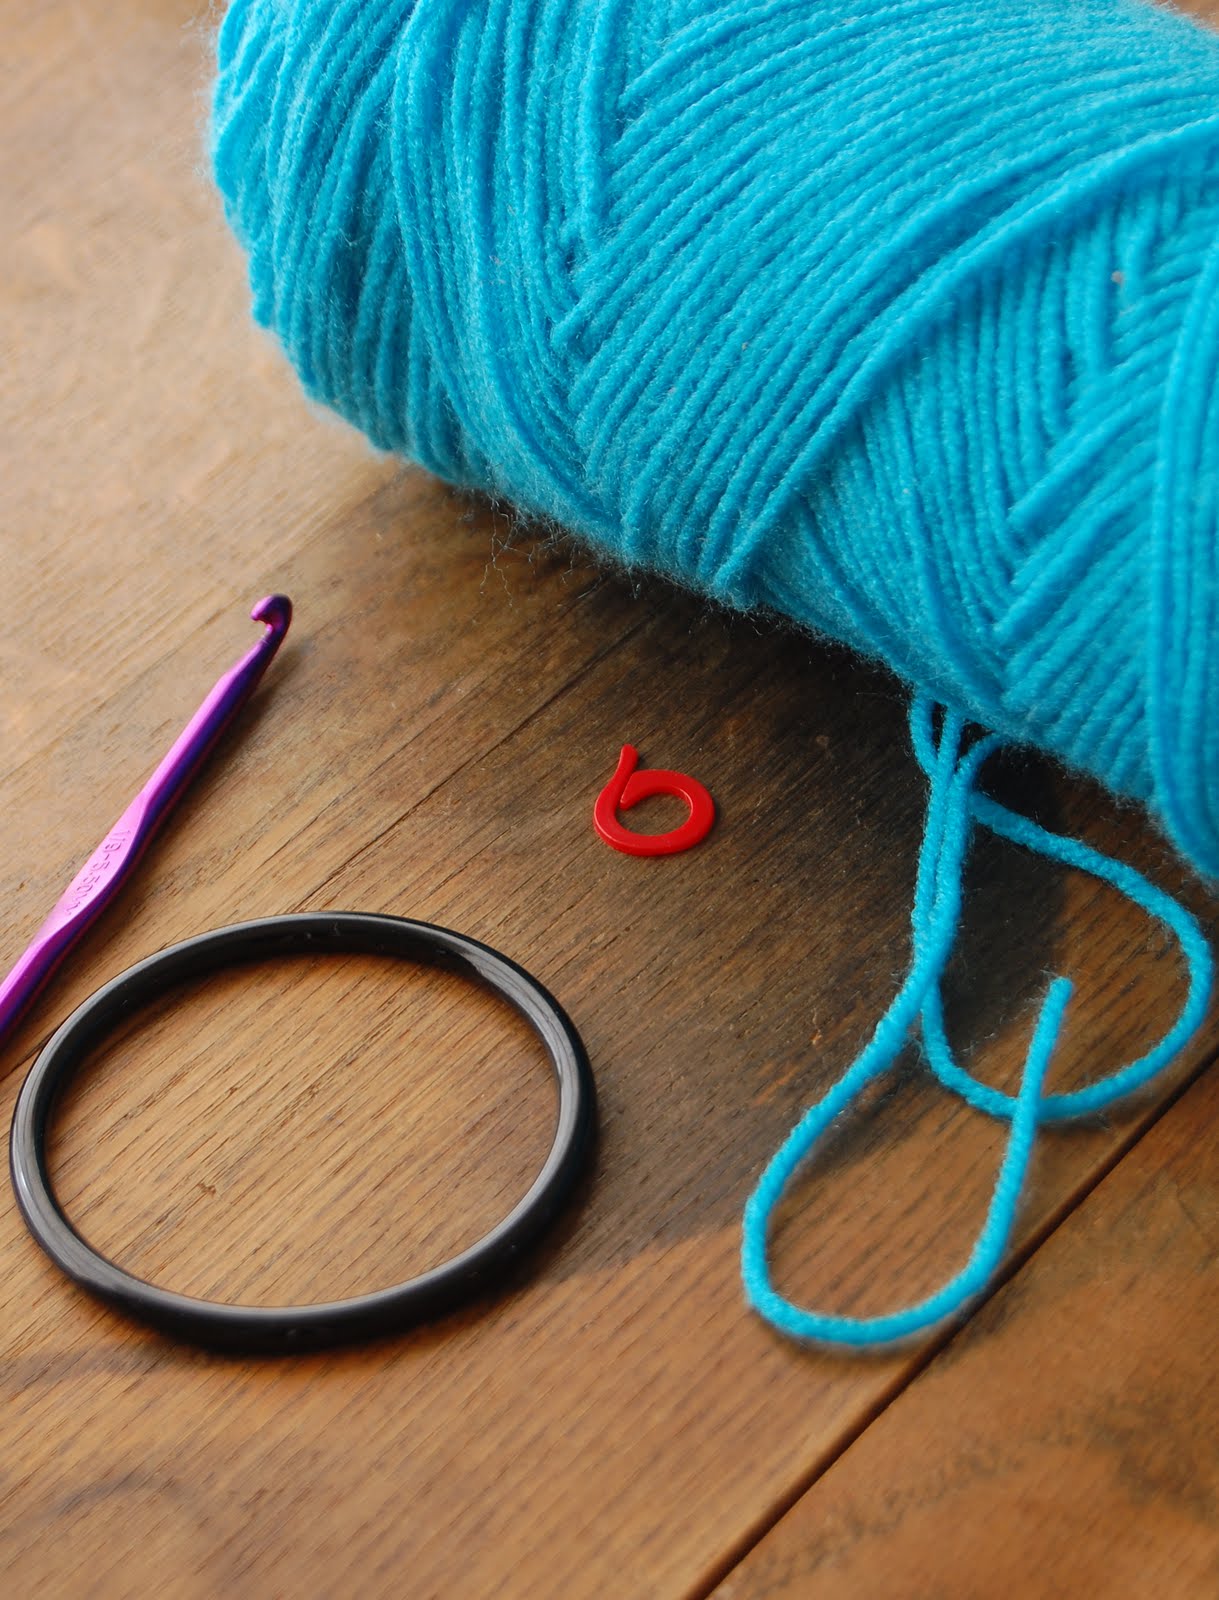
Materials:
* A bit of yarn in a color that makes you happy ( I have used mostly odds and ends of worsted medium weight)
* Your trusty crochet hook ( I used an H/8 - 5.00mm hook)
* A stitch marker (optional)
* A bracelet that you are ready to upcycle into a bit of crochet loveliness. It should be a stiff, non-flexible material - plastic/metal/wood etc. ( I raided Pony Girl's dress up box, the local junk store and thrift. Just some very cheap costume jewelry, keep an eye out at yard sales too.) The more plain the bracelet the better.
 Techniques Used: I am using US crochet terms, for UK Terms click here
* Slip Stitch (sl st)
* Chain Stitch (ch)
* Single Crochet Stitch (sc)
* Double Crochet Stitch (dc)
* Tying Off and Sewing In Ends
All photos can be clicked on to enlarge
Begin by attaching your yarn to your hook with a Slip Knot.
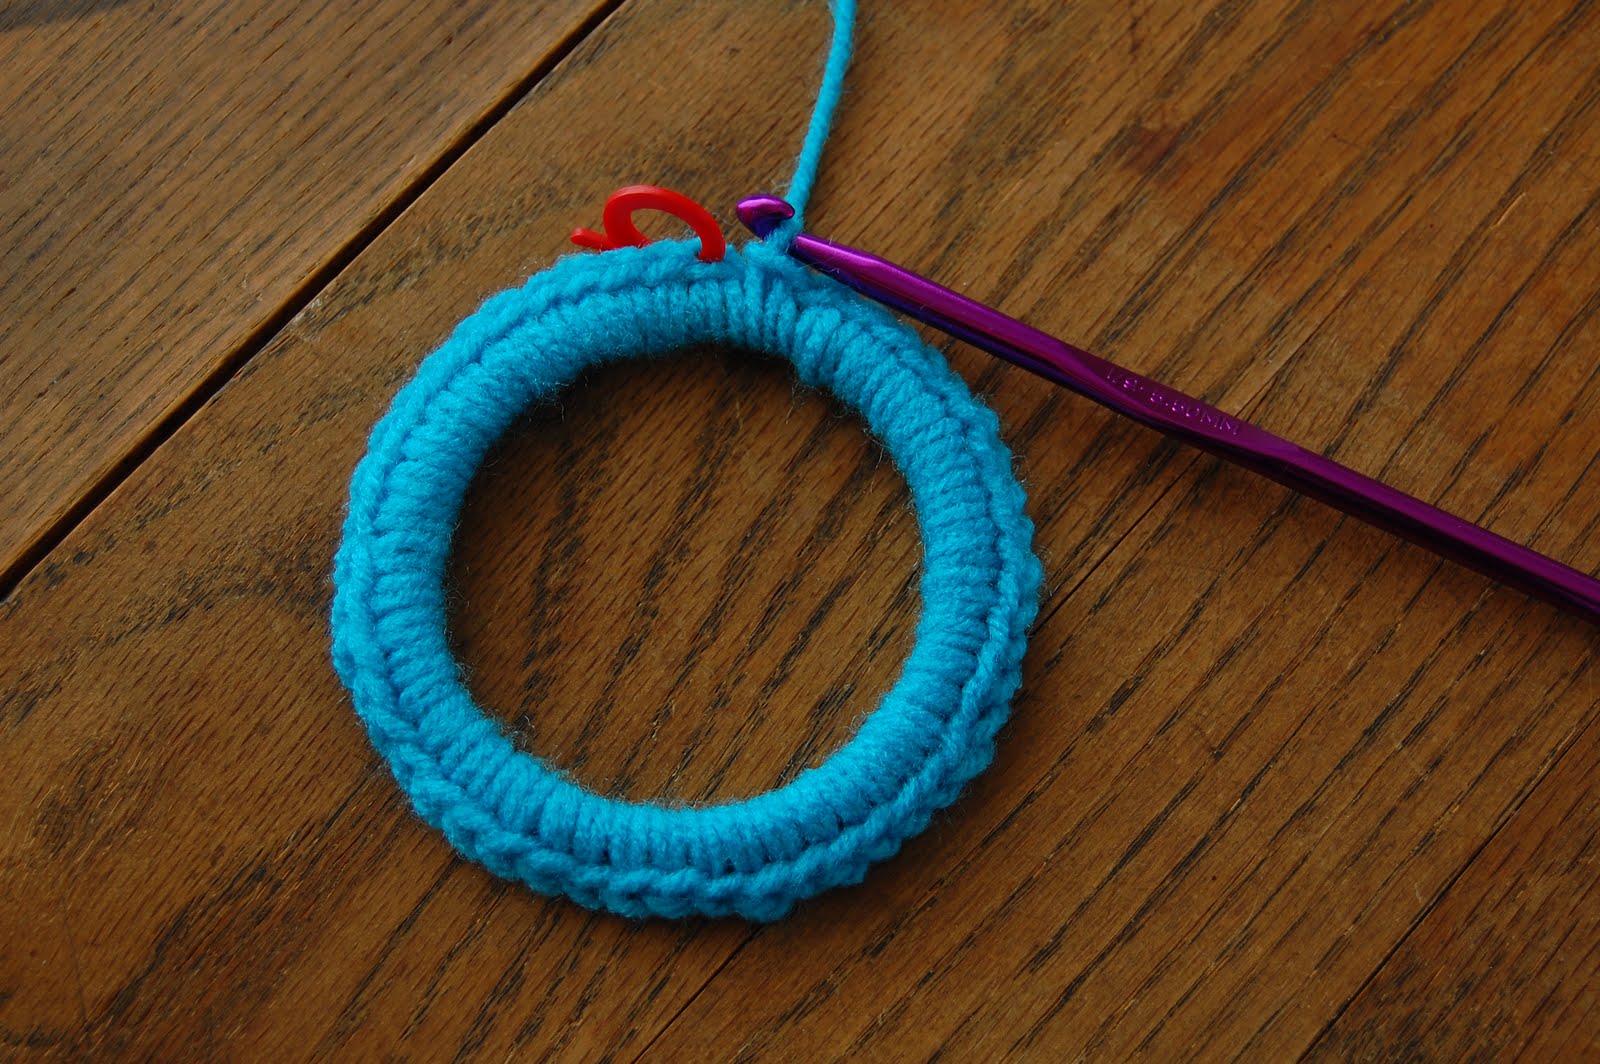
 Round 1
Attach the yarn to the bracelet with a Slip Stitch

Chain 1, this counts as your first Single crochet stitch. (If you are using a stitch marker, this chain is where you would stick it.)

Begin working Single crochet stitches into the ring/bracelet.


Continue with the Single crochet stitch around the bracelet. Work 48 Single crochet. Including your beginning chain, this makes 49 stitches (sc).
As you go, slide your stitches close together so there are no gaps where the bracelet shows through. Adjust the top of your stitches to the outside of the bracelet as you work.


Once you have your 49 sc, join the round with a Slip stitch into your first chain.

 Round 2
Chain 3, this counts as your first Double crochet.


Work 1 Double crochet into the next stitch, continue working 1 Double crochet into each stitch of the first round. 49 dc including beginning ch 3.

Straighten your work as you go.

`
At the end of round 2, I count my stitches to make sure I have 49 including my beginning ch 3.
Join the round with a Slip stitch into the 3rd chain of your beginning ch 3.

 Round 3
*Skip 2 stitches, then Double crochet 7 times into the next stitch.

Skip 2 stitches, then Slip stitch into the next stitch.*

Repeat this this pattern - between ** around the bracelet.

You will be working 8 shell clusters in all. Join the round with a slip stitch into your beginning stitch.


Tye off yarn and sew/weave in loose ends. What a sweet 'Mary Go Round' you've made!

I hope that this tutorial is clear. If you have any questions, or notice that I have made a mistake, please let me know. If you decide to make a 'Mary Go Round' or 6 (they are addictive) I would love to see!
This would work on rings of different sizes too. I have tried it on a smaller and larger ring. Working your first round in multiples of 7 stitches seems to be the key for getting the shell edging to work out.
Happy making!
Lin, a reader, sent this comment which has a helpful correction in my pattern. Thanks Lin!
If you change the size, it should be by adding or subtracting a multiple of 6, not a multiple of 7.
In the original, you have eight sets of six stitches - you skip the first two; double crochet into the next one; skip two and slip stitch into the next one.
You usually don't count the turning chain as a stitch - I think that's where the confusion comes from since it gives you 49 stitches instead of 48. 6 x 8 = 48.
In most patterns, you just need to count the number of stitches you used in the previous row to make your repeat to produce the design. Then add that number to the beginning chain. If you want it smaller, you subtract that number from the chain.
Edited to add: I attached the pictures to the frames by gluing them to a slightly larger circle of felt, I then hand stitched the felt to the back of the crochet frame.

 Wow, the last couple of days have been a little crazy. There was much nursing involved for a very sick Pony Girl, poor little lamb. I will say that she is the most remarkable sick child I have ever seen. Whilst feeling poorly, looking a very peculiar shade of gray/green and carrying around her "just in case" bucket, she was singing sweet songs and telling me not to worry. She has always remained in the best of spirits when ill, such a trooper. She is back in school today, finding staying home with Mama to be "too boring!" So glad to see she is her perky self again.
 As for me, I took a little break from the hook and yarn to play with felt and some creatures great and small. Making up a couple of new journals for my little shop. I do love a Dala Horse, and of course - who can resist a deer diary? "Oh little deer wont you please come here and let me tell you a story..."


