

I thought perhaps some of you lovely folks might like to have a gander at this tutorial that didn't quite make the final squeeze into my book.
What you will need:
A good size rectangle of fabric (for this example I used about a ½ yard (1/2 meter) of cotton print, but you can use a smaller rectangle no problem)
A fabric marker, pencil, or tailors chalk
A long ruler (clear quilting type works great!)
Rotary cutter & self-healing mat or fabric shears
Bias tape maker tool (not essential, but highly recommended)
Thread
Iron & Ironing board
There are a few different methods to making bias tape, I will be showing you how I make mine, but you should explore other methods to find what suits you best.
Bias tape making tools are pretty nifty and inexpensive gadgets that come in a couple different sizes from ¼” up to 2”. The width marked on the package is for single fold bias tape, so a 1” bias maker tool will make ½” double fold, etc.

To Make: Click the pics to enlarge for detail
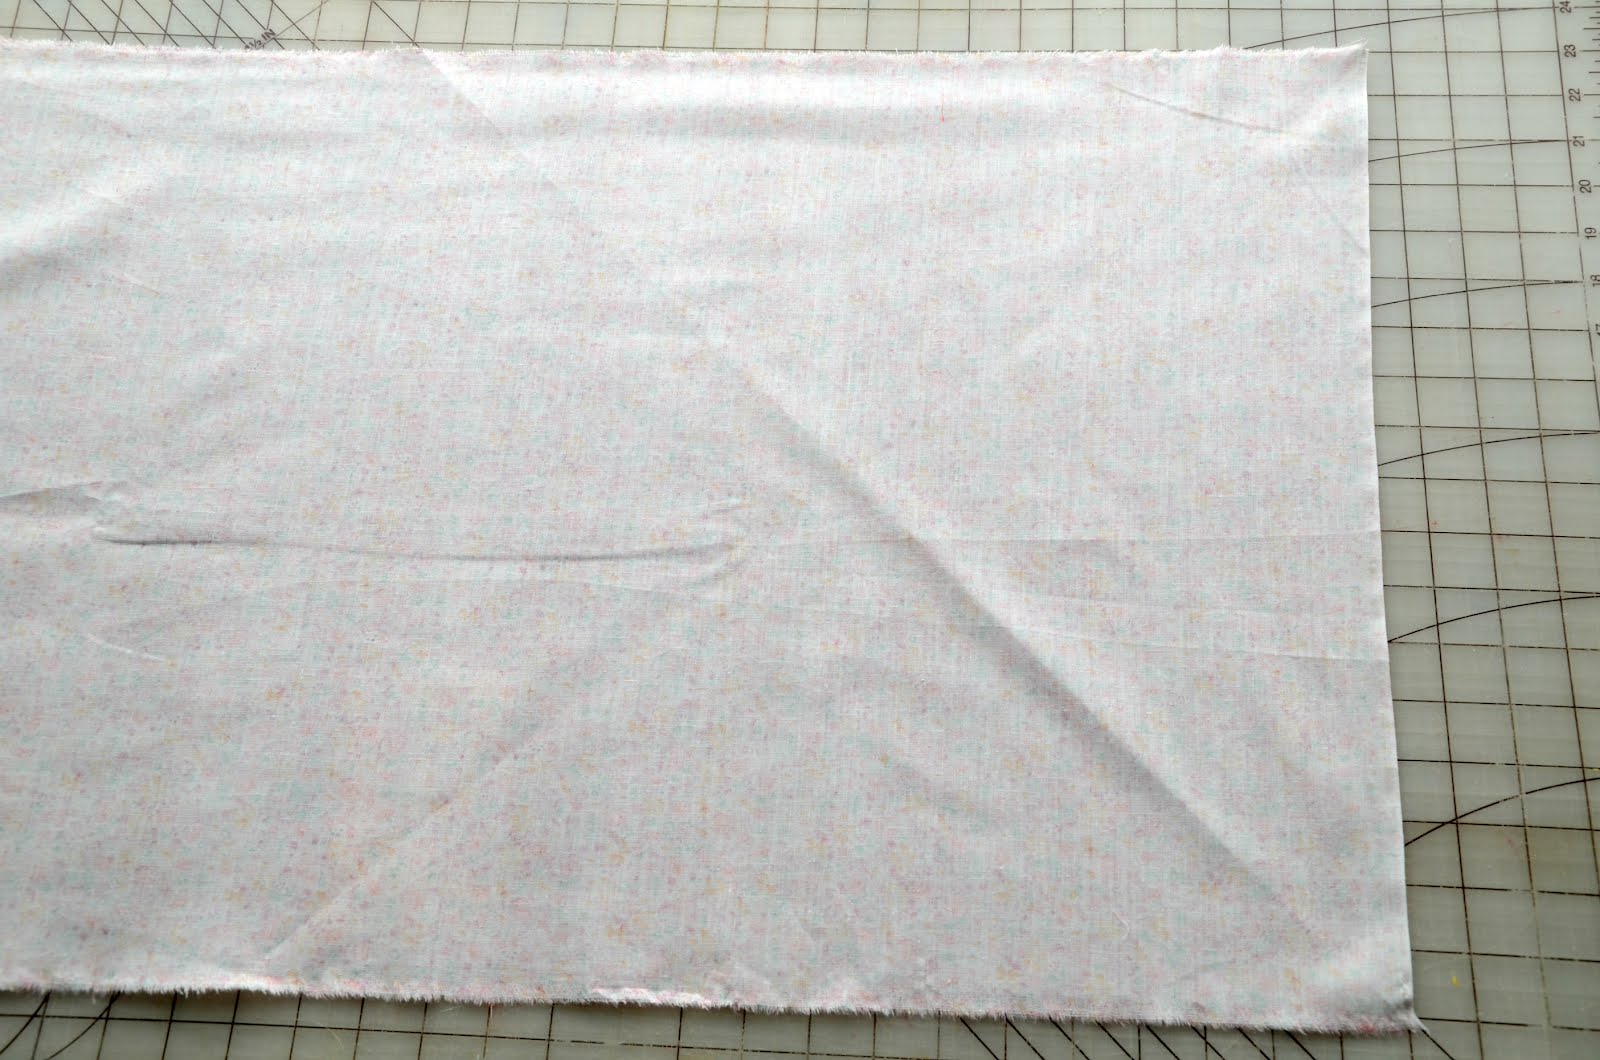
Lay out your rectangle of fabric wrong side up. To find the bias, simply fold the fabric so that the edges meet to form a triangle as shown. Press the fold and this line is the bias grain. Unfold fabric.


Once you have marked off your strips, use a rotary cutter, ruler and self sealing mat, or fabric shears to cut along the lines to make your strips. I then cut off the angled ends of the strips as shown.


Bias Tool Method:
To insert the strip into the bias tape maker tool, fold one end into a point with the wrong side facing up, insert the strip into the wide end of the tool. You can use the tip of a seam ripper to gently guide the strip through. Make sure that your strip is centered in the tool as shown.


You can do all of this without the handy little tool. Begin by folding your strip in half wrong sides together and press to create a center crease. Open up the strip and fold both raw edges in to meet the center crease and press for single fold bias tape. Fold in half again as shown above to create double fold bias tape.
Now wrap your sweet new bias tape around a bit of cardboard to keep it nice and neat.

How much bias tape will it make? You can first calculate the area of your fabric rectangle by multiplying the length by the width, and then divide that number by the width of your strips. This will give you a rough approximation since you may not be using the smaller corner strips of the fabric. To tell you the truth, I don't do the math, I just go with this bit:
A half yard of fabric will yield a good several yards of bias binding of most widths.
I will often make a smaller amount for a specific project that requires only a little bit of bias tape, so it's up to you how much you make at any given time.
Now, go give it a try!
Any questions? Feel free to ask and I will try to answer them in the comment section of this post.
Happy Making!