Want to know what is really great? Making your own bias tape! Yes you can! It does take a little time and effort, but is well worth it. Because I work primarily with natural fiber fabrics, I find that making my own bias tape out of the same fabric type produces much better results and there is that whole “variety is the spice of life” thing. I do use packaged bias binding as well for the sheer convenience of it, but make my own whenever I can.
I thought perhaps some of you lovely folks might like to have a gander at this tutorial that didn't quite make the final squeeze into my book.
What you will need:
A good size rectangle of fabric (for this example I used about a ½ yard (1/2 meter) of cotton print, but you can use a smaller rectangle no problem)
A fabric marker, pencil, or tailors chalk
A long ruler (clear quilting type works great!)
Rotary cutter & self-healing mat or fabric shears
Bias tape maker tool (not essential, but highly recommended)
Thread
Iron & Ironing board
There are a few different methods to making bias tape, I will be showing you how I make mine, but you should explore other methods to find what suits you best.
Bias tape making tools are pretty nifty and inexpensive gadgets that come in a couple different sizes from ¼” up to 2”. The width marked on the package is for single fold bias tape, so a 1” bias maker tool will make ½” double fold, etc.
Clover makes several sizes of this great tool.
To Make: Click the pics to enlarge for detail
Lay out your rectangle of fabric wrong side up. To find the bias, simply fold the fabric so that the edges meet to form a triangle as shown. Press the fold and this line is the bias grain. Unfold fabric.
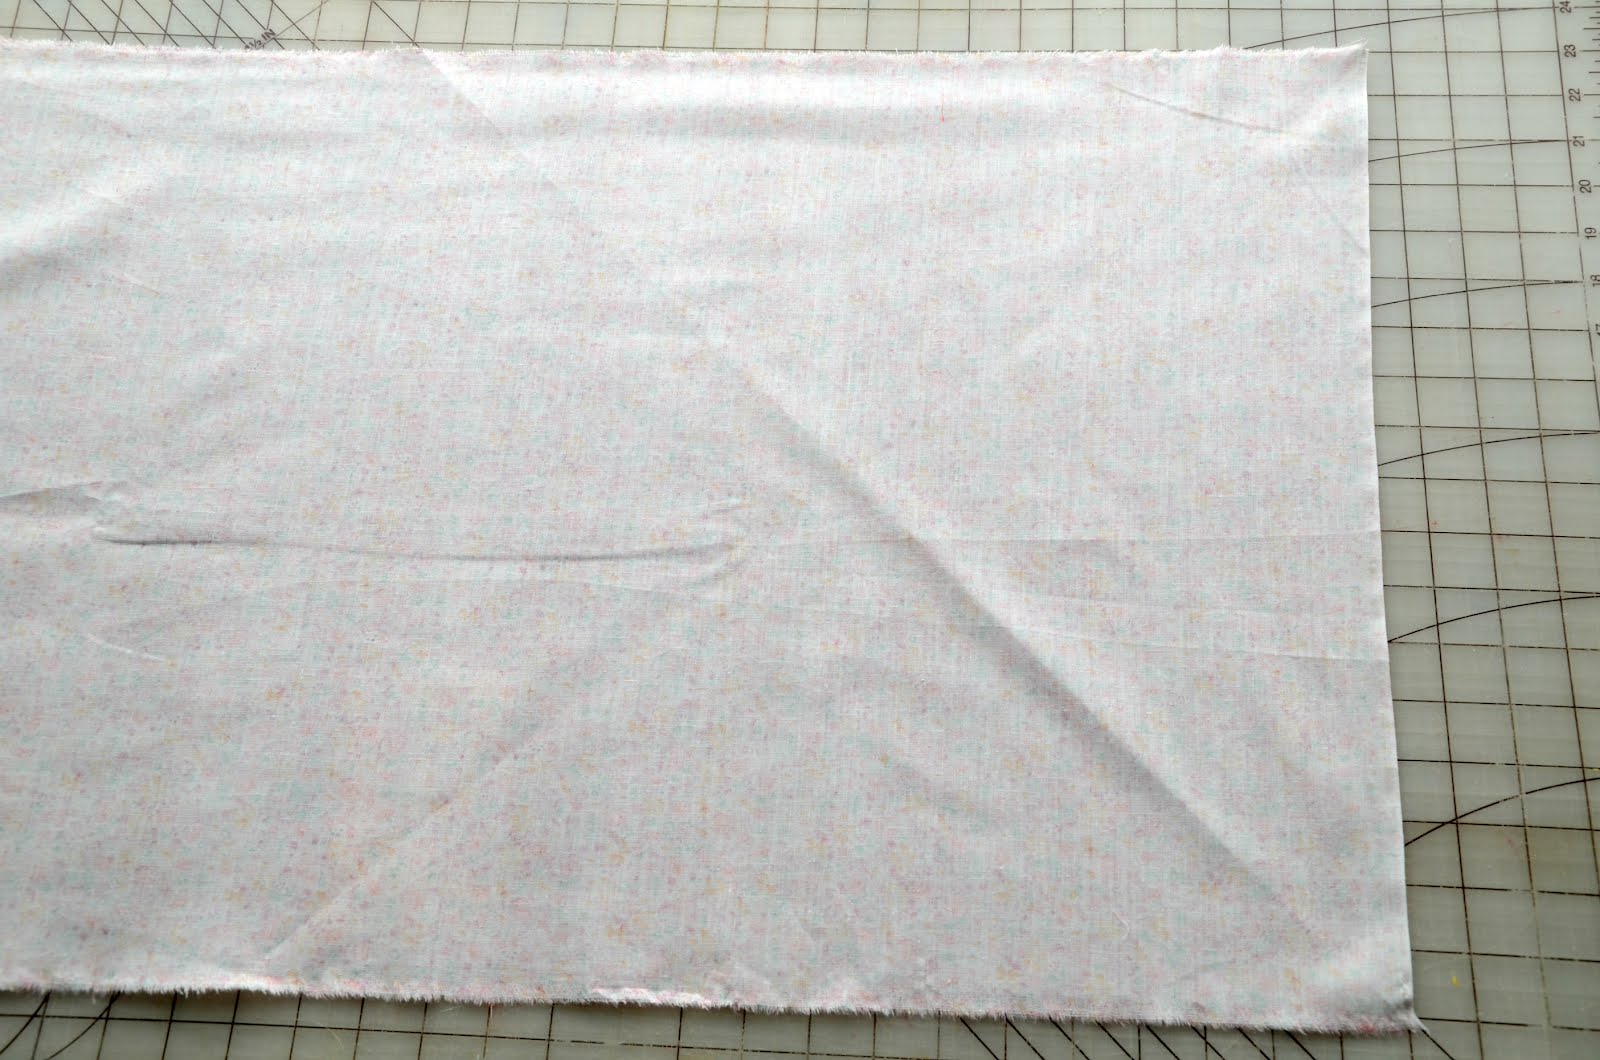
Using a long ruler, begin marking off strips along the bias by measuring equal distances from the line you pressed. Your strips should be twice the width of your completed bias tape. Since I am making 1” (2.5cm) bias tape, my strips are going to be 2” (5cm) wide. As I get close to the corner, the strips become quite small so I generally discard those as I don’t want to bother with the really little bits.
Once you have marked off your strips, use a rotary cutter, ruler and self sealing mat, or fabric shears to cut along the lines to make your strips. I then cut off the angled ends of the strips as shown.
Place two strips at 90 degree angles with the right sides together, raw edges matching and pin in place. Sew diagonally across the two strips as shown. Continue sewing the remaining strips together in the same manner to create one long strip. Sew each one the same way so that your seams are all in the same direction. Trim all of your seam allowances to a scant ¼” (6mm) and press the seams open. Trim the seam bits again.
Now that you have a nice long bias strip, let's make it into binding!
Bias Tool Method:
To insert the strip into the bias tape maker tool, fold one end into a point with the wrong side facing up, insert the strip into the wide end of the tool. You can use the tip of a seam ripper to gently guide the strip through. Make sure that your strip is centered in the tool as shown.
Gently pull the tool as you hold the end of the strip and press with the iron as you go. Continue to press the entire length of the strip. You now have a nice amount of single fold bias tape. If you would like to make it into double fold bias tape, simply fold the tape in half with the single folds on the inside and press.
So, the little Bias Maker Tool is totally worth investing a few dollars in!
You can do all of this without the handy little tool. Begin by folding your strip in half wrong sides together and press to create a center crease. Open up the strip and fold both raw edges in to meet the center crease and press for single fold bias tape. Fold in half again as shown above to create double fold bias tape.
Now wrap your sweet new bias tape around a bit of cardboard to keep it nice and neat.
How much bias tape will it make? You can first calculate the area of your fabric rectangle by multiplying the length by the width, and then divide that number by the width of your strips. This will give you a rough approximation since you may not be using the smaller corner strips of the fabric. To tell you the truth, I don't do the math, I just go with this bit:
A half yard of fabric will yield a good several yards of bias binding of most widths.
I will often make a smaller amount for a specific project that requires only a little bit of bias tape, so it's up to you how much you make at any given time.
Now, go give it a try!
Any questions? Feel free to ask and I will try to answer them in the comment section of this post.
Happy Making!
Showing posts with label free tutorial. Show all posts
Friday, September 21, 2012
Friday, September 16, 2011
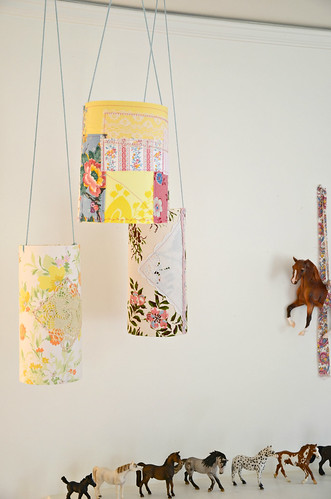
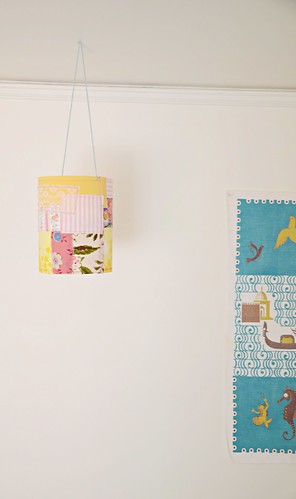
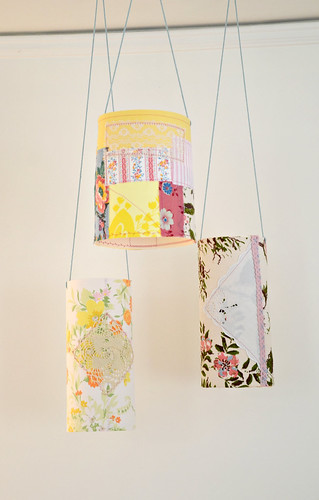
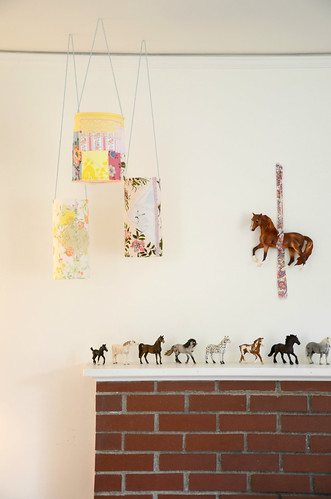
Pretty Patchy Paper Lanterns
I shall begin with an ingredient list:
* Aforementioned odds and ends of pretty fabrics. For my examples I have used mostly vintage cut offs from my scrap pile.
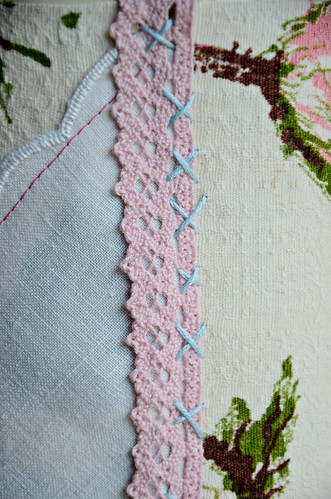
* Bits and bobs of lace, ribbon, trim, old hankies, what-nots and etcetera
* 2 pieces of standard A4 card stock
* Embroidery Floss and large embroidery needle
* Lengths of yarn
* Scissors, thread, glue, tape
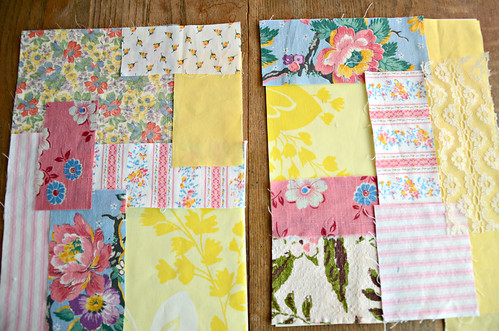
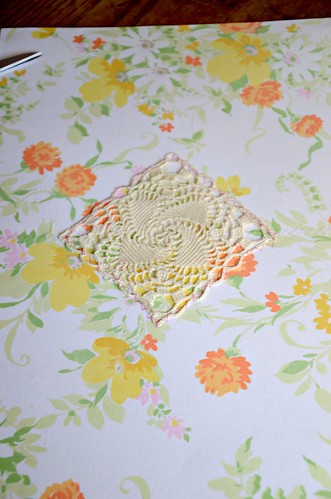
Start by gathering up a bunch of scraps that you think might play nicely together. Grab your 2 pieces of card stock and begin arranging your scraps on the papers. You might like to do this over a cup of tea or coffee. Just keep at it until the space is filled and you are pleased with the results.
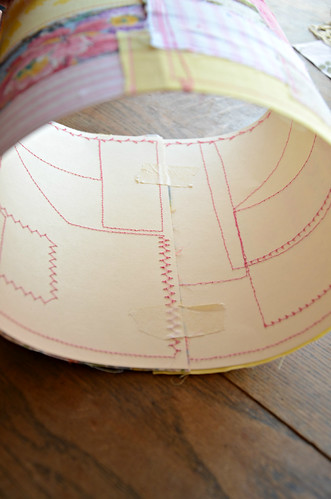
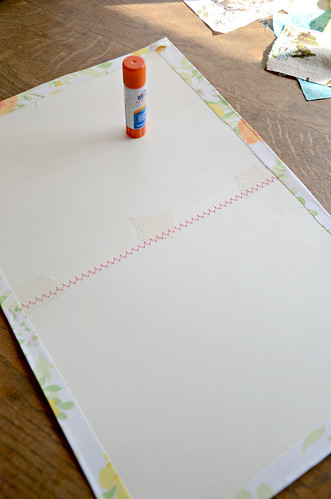
Take your fabric festooned card stock over to your trusty sewing machine and just begin stitching your fabric to the paper. Use a straight stitch around the edges of your scraps, or use a fancy stitch across one part and another across a different part...do what you like just as long as all of the fabric is secured to the card stock.
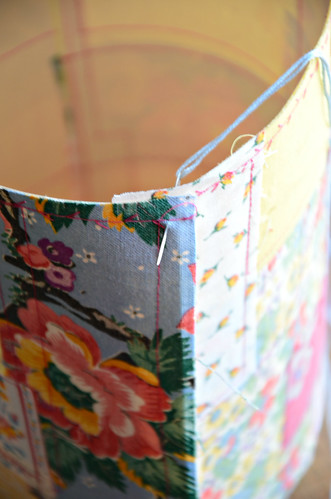
You can simply stitch all the way down using a giant running stitch, cross hatches, etc...whatever you have the patience for really. I myself did not have a great deal of patience, so it came out a little crazy. For example...
Go ahead, make a few...you know you want to!
Edited to add: These lanterns are meant to be decorative and not for use with lights or bulbs.
Have a truly wonderful weekend my friends!
Wednesday, June 22, 2011
Feltycuffs: A Tutorial
Felt is awesome, it's a no fuss, no muss material that makes up some seriously cool projects. It also ticks all the right boxes for a kid craft. However, once I started playing around with the felt, I started to imagine all the cool grown up stuff I could make using the same ideas.
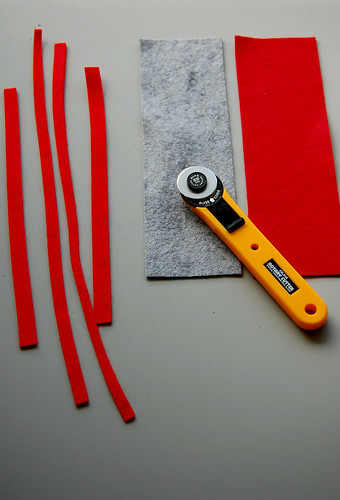
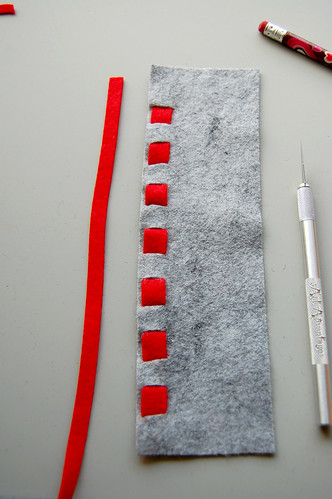
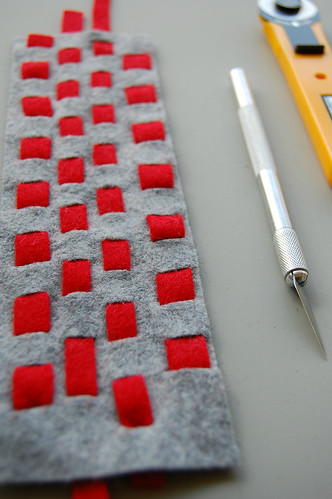
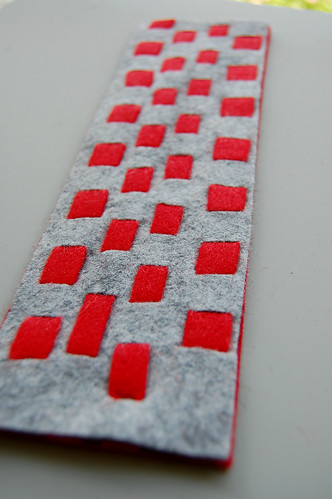
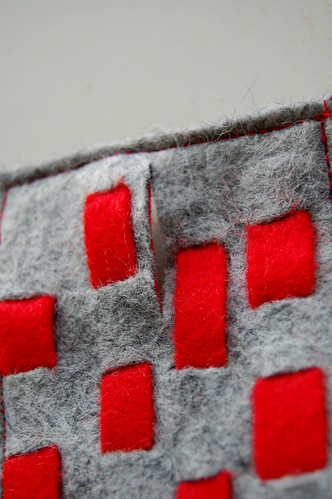
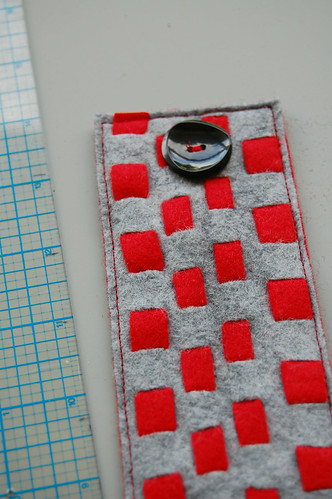
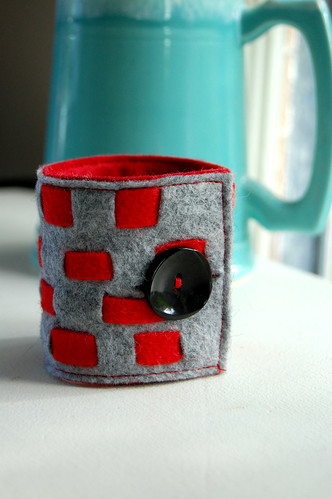
You will need 2 pieces for the main cuff part. You can measure your wrist with a tape measure, making sure it is not too tight but, a comfortable length on your wrist. Once you have that measurement, add 2 - 2.5 inches (5.5 - 6.4 cm) for overlap. I cut my pieces 8.25 inches (21 cm) long by 2.5 inches (6.4 cm) wide. Then cut some skinny strips of felt slightly longer than your main pieces. I cut 4 strips.
Using a rotary cutter and mat make this quick work, you can also use scissors.
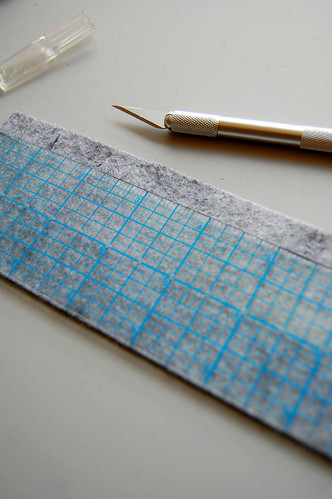
* If you are doing this project with kids, you will want to supervise use of the sharp craft knife.
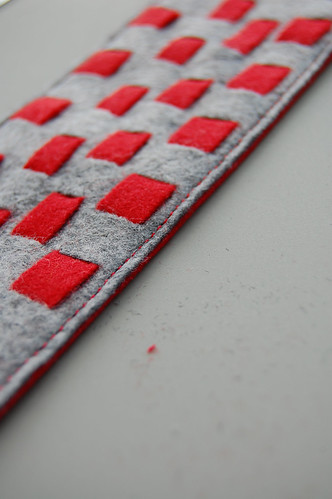
Next, Match the edges of your 2 cuff pieces, wrong sides together.
After I made this one, I couldn't stop. So, I made 2 Super Star cuffs for Pony Girl. I used the exact same technique for the cuffs but, without the woven element. I simply cut out 2 simple star shapes out of contrasting felt and appliqued them to the cuffs with a straight stitch.
Here is Pony Girl rockin' her cuffs!
(click the pic for 10 times the awesome!) And I still couldn't stop!
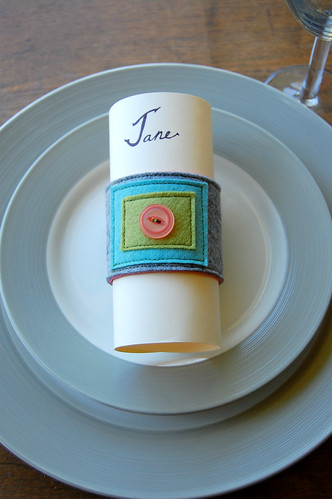
What about a simple and elegant napkin ring? Does anyone use those anymore? I used to love looking at my mother's small collection of vintage napkin rings when I was a kid. I thought it would look so nice for a special dinner.
What about place holders? These would be so pretty at a wedding, special party, or just because.
As always with my tutorials, please feel free to ask questions. And, if you make this project, or one inspired by this project, I would love it if you uploaded a photo to the "Lola By You" flickr group!
Have a super star day!
Oh, I almost forgot. Lola has a new Facebook page come check it out!
Subscribe to:
Posts (Atom)