Showing posts with label handmade home. Show all posts

Wednesday, January 14, 2015

Wednesday's Work in Progress


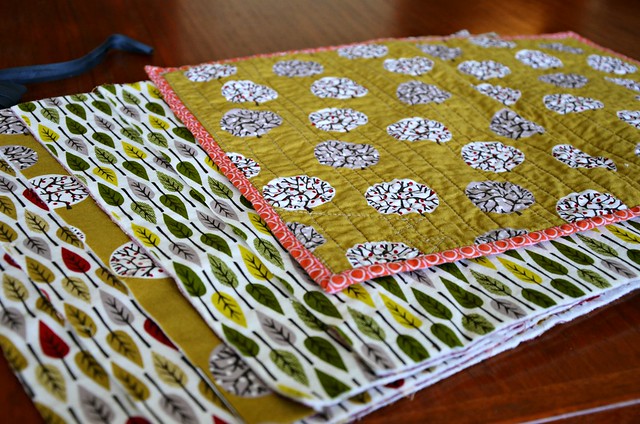
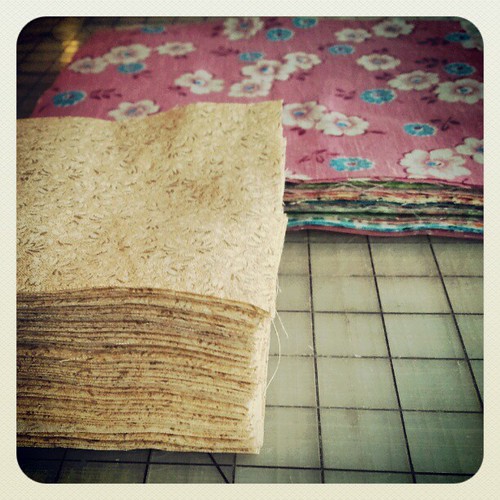
Continuing the theme of making for the home, my current work in progress is a stack of placemats to be quilted and bound. One down, 5 to go.

I realized after I finished the first one that I had used up the last of that particular bias binding and could not get more. Mix and match binding for the rest of them then!

I love this fabric line from a few years ago; Cloud 9 organic cotton - Nature Walk.

Oh, and just in case you are interested...

For one placemat:
Cut two fabric rectangles measuring 18" x 14.5"
Cut one piece of cotton quilt batting 18" x 14.5"
Sandwich batting between fabric rectangles, right sides facing out. Use pins to secure or as I did, a temporary fabric adhesive spray to keep pieces in place.
Use your sewing machine to quilt the layers. I just used straight lines randomly spaced. To make this easier, use a walking foot on your machine.
Bind the edges with bias binding - takes about 1 3/4 yard of binding for each placemat.
Repeat for as many placemats you care to make.

I know, it's not much of a tutorial, but if you want more details, just do a search on the interwebs for "how to sew quilted placemats" and you will have a bunch of tutorials to choose from.

So, what are you working on?

Monday, January 12, 2015

Sometimes crafting isn't pretty


We all know the saying, Necessity is the Mother of Invention. 

Sometimes I find when I'm stuck, in a rut, or waiting for the next spark of creativity, yet still feel the need to make something, I turn to what is needed in the home. In this exercise, I not only get my stitch on, but I end up with something useful. It saves a little money and my conscience is clear knowing that no sweatshop labor or bad practices are used. I use up scraps I have on hand that have been left over from other projects, so I have not had to purchase any materials. All of this is good.


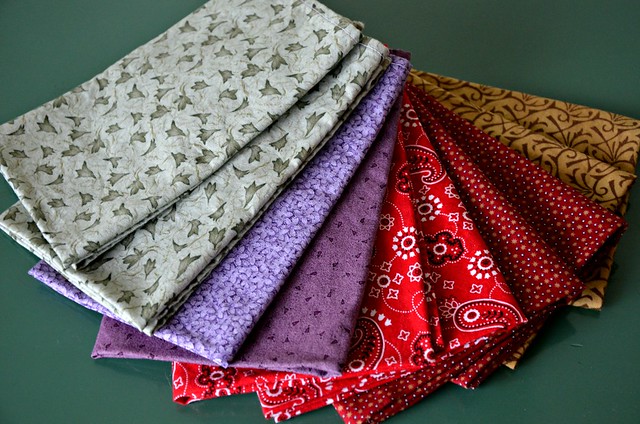
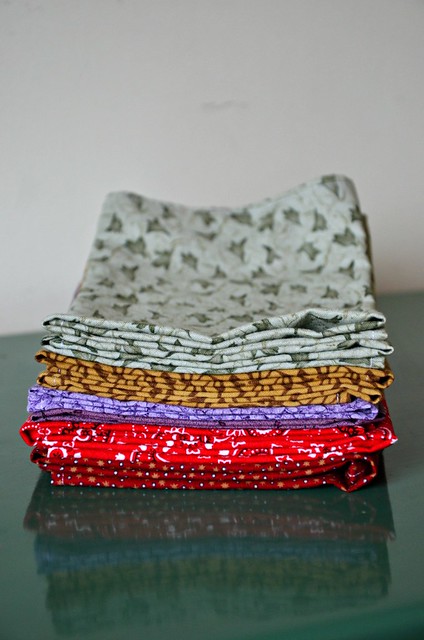
On the other hand, I often sacrifice form for function. I don't spend a long time deliberating, or perfecting. I jump in and just go. I mean really, pretty matching napkins are nice and all, but I have a good amount of scrap fabric that is well... let's just say it's not my favorite. Also, because we are in desperate need of cloth napkins, desperate to the tune of a goal of 20 new napkins, I am not willing to spend the time making sure my narrow hems are all exactly 1/8" and perfectly square. In fact, I am famous for not enjoying making the same thing over and over so making 1 napkin from cut to finish should take me only 15 minutes give or take.


We needed pot holders too. Since I had some of this stuff just laying around I went for it. Scraps again, randomly stitched together and definitely not pretty! Yes, I could have made beautiful pot holders, I could have spent hours on them, and I have, but those were gifts. So in the end, I spent a small amount of time and made useful if wonky things.

Seriously, these things are gonna get USED! They will get dirty and need constant washing and who cares if they aren't works of art? I don't. I filled a need, and this was my purpose. Sometimes crafting ain't pretty folks and that's ok.

Monday, August 25, 2014

Made It Monday

Dress: McCall's 6275
Pants: Simplicity 4572

Since we returned from our lovely holiday we have been playing catch up and getting ready for Fall and the start of school. Do you ever wish you could have a vacation to recover from your vacation? For my part, I have been in a mad rush to get school supplies and to stitch up some quick school clothes.

I have a stash of mainstream patterns that have been picked up for pennies, given to me, or come to me from a number of places. Many of them are not exactly my cup of tea, but why not go through them and see which are keepers and which to pass on. The plus side of this is that I don't have to spend time drafting my own patterns and most of them are super fast to stitch up. Since school is starting next Tuesday, that is a good thing.

Simplicity 2689

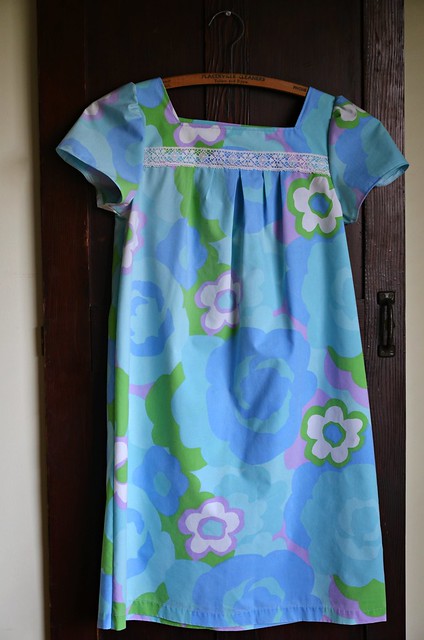
The dress above was made from a vintage sheet that I acquired from Sherri of Little House in Paradise.
*
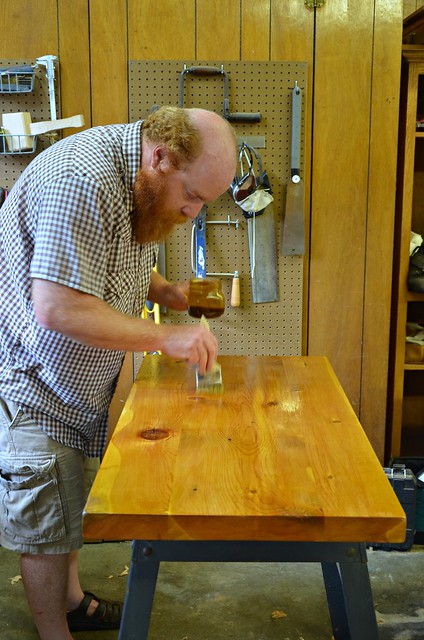
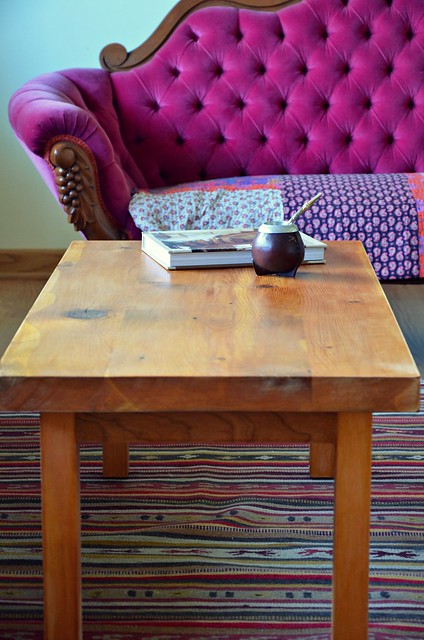
The Engineer has been busy as well. He finished up a gorgeous coffee table made from reclaimed wood.


It turned out beautifully and is the perfect compliment to our living room. I love it! 


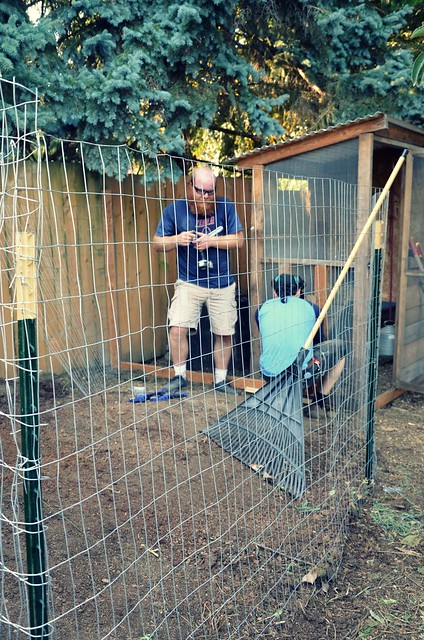
He and a good friend also worked crazy hard on Saturday to build a chicken run to keep our pesky hens out of the garden beds. Hooray!


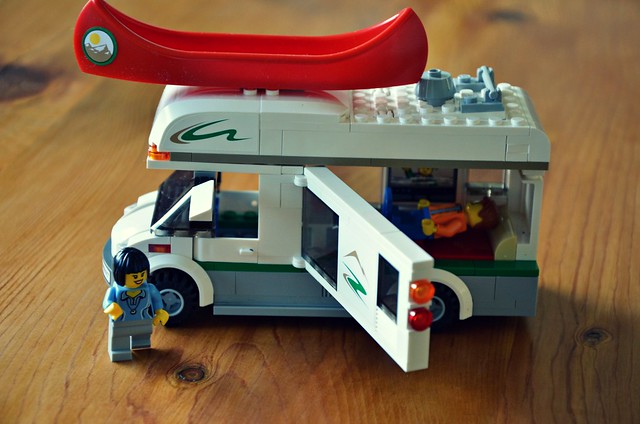
Oh, and Pony Girl has been making stuff too!


What have you been up to? Make anything lately?


Tuesday, June 3, 2014

The last of the school days


Seeing as there is just a smidge over a week left of school, things have ramped up. Field trips, school carnivals, potluck in the park, etc...
So not much work is getting done on my end if you don't count laundry and the soft opening of the patio for the summer season. I did however, finally manage to make a cushion for the couch. Some Japanese cotton, some hand printing on canvas and a vintage doily or two and voila!

Are you gearing up for summer, or are you on the other side getting ready for winter?

Have a lovely week whatever the geography!

Tuesday, May 27, 2014

Dismantle Re-mantle

This is one of those "Before and After" posts. One of the DIY projects that took up a good chunk of time in the last two weeks (one of many). It's also a lesson in making the most of what you've got.

Our house is a work in progress. I think most homes are really, because life is a work in progress... always changing. When we moved in one of the things that just didn't fit was the living room fireplace surround and mantle. What we had was a behemoth honey oak mess that was not original to the house and stood out like a sore thumb. Not everyone saw it that way, some people even liked the darned thing! It didn't help that the wall behind it was a nice 80's mint green.  It just wasn't right for us, or the mid century architecture of the house.

The thing was, we didn't have the money or the time to make it exactly how we wanted, not right now anyway. So, we worked with what we had and gave it a makeover.


The Engineer and I tackled the top mantle portion, dismantling the large jutting out shelf part, which just took some careful pounding with hammer and mallet. Much of that mantle wood has already been re-purposed and used in other projects in the house.


Next, I got to work with a medium fine sanding sponge and carefully scuff sanded the entire surface including all the nooks and crannies. I followed this with a coat of oil based primer. After that came three coats of an eggshell finish acrylic in a soft white.  The wall behind also required three coats of the same acrylic paint.

We then replaced the mantle with a large salvaged slab of Ponderosa Pine. The Engineer cut it to size and gave it just a light sanding to keep the rustic nature of it intact. The slab was skirted with a bit of black walnut that The Engineer had in the shop. Finally, the fake gold vent cover was replaced with an original piece (again made by the Engineer) created from some old pallet wood. It sure is handy having a partner who also happens to be a woodworker!


All told the makeover cost about $75. Not too shabby. We are pretty happy with how it all turned out.
Now on to the next thing on the list!


Friday, January 3, 2014

I Promised Her Pink


When we decided to look in earnest for a new house, My husband and I talked about it with our girl. At first she was excited, then the next day she announced that she didn't want to move, because "our house has all the stuff and all of my memories!" There were a lot of conversations, reassurances, and promises that we would never, ever forget our life in The Little Green Cottage. We told a lot of stories about the years we lived there, it was the only home she had known, it was a big deal.

They say moving is one of the big deal stressful events in our lives as adults, it's true. It's a big deal scary thing for kids too. I did promise that she could decorate her new room however she wanted, and that I would help. I promised her pink.


So... moving house, big plans, bright ideas and then... reality. Our girl has fully embraced the new house. It only took a few days of exploring the garden and she was smitten. Still, 5 months on and she's picked out her paint colors and asking me, "So when are we going to paint my room? Like you PROMISED." I believe that it is vitally important to keep one's promises to children, that's why I don't make a lot of them. Sometimes my promises take a little longer to come to fruition, but I do make good.

The only "before" picture I could find. Drab olive green walls.

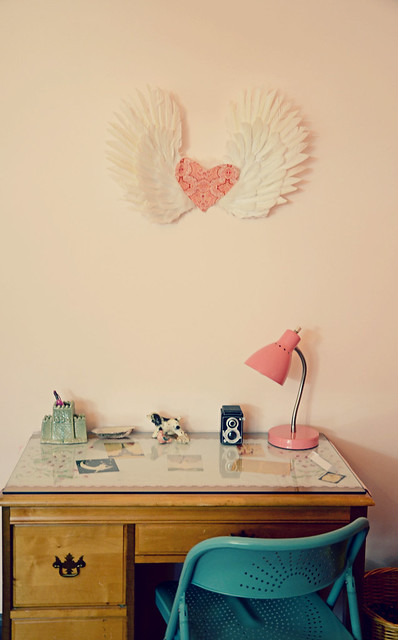
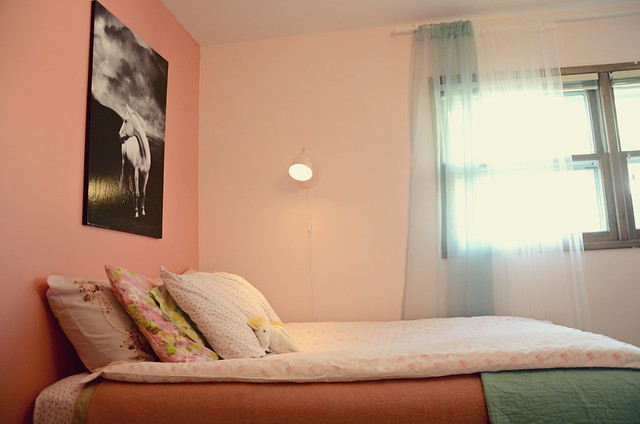
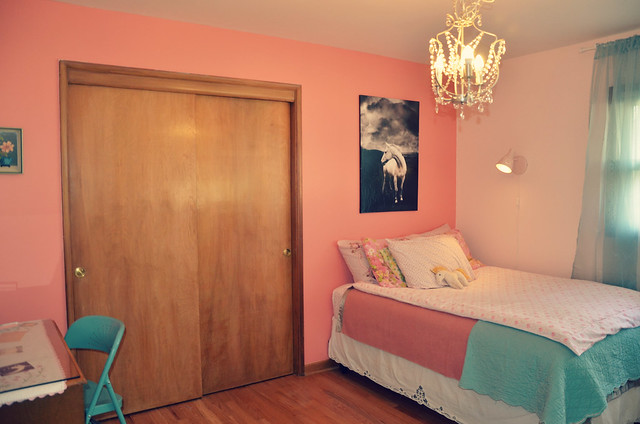
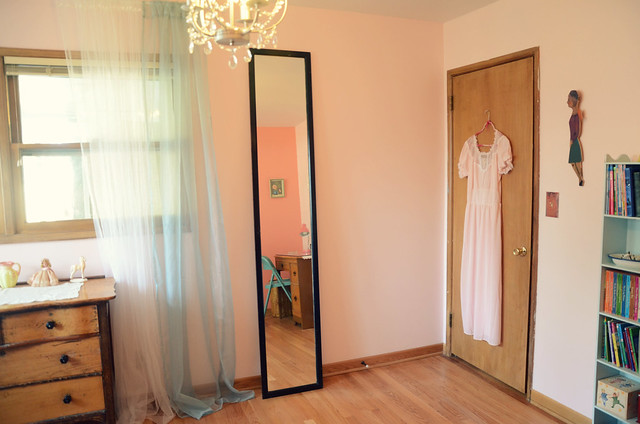
So, while she was away visiting grandparents recently, I got to work transforming her room. I had been taking notes for the last few months and knew the most important details; such as, there absolutely had to be a crystal chandelier!


I took down the old light fixture and wired a crystal chandelier in it's place. She also needed a reading light by the bed for those night time reading sessions. I installed a wall sconce over the bed.
There needed to be 'flowy" curtains. I added a strand of fairy lights behind the corner gauzy curtains for a little bit of extra magic.


To tame the overwhelming amount of pink going on, I added bits of turquoise throughout the room. The little dresser has belonged to me since I was 16, it has amazingly made it through years of moving and adventures.


The sweet desk came from my favorite neighborhood vintage shop. As it had a glass top, I placed a vintage embroidered runner (pink of course) under the glass along with some vintage Parisian ephemera that I printed from the computer. Our girl loves all things Paris!

And a horse of course, she's still Pony Girl through and through!


I had such a good time working on her room, in fact I kind of wanted to move in myself. Now, this is no magazine makeover. There wasn't any money in the budget for new bedding, a rug for the floor, or a bed frame. This is a real life DIY room makeover. With plenty of opportunity for our girl to make it truly her own and add to it down the line. It was a wonderful chance to show my daughter that I had been listening to her, what she wanted for a room of her own.

Oh, and yes, she loves it! She has been spending much more time in her room since she came home. That is a good sign I think. I promised her pink and now she's got it!

Now, for the rest of the house! Well, give me a year or so.

For those who want to know the nitty gritty:

Benjamin Moore paint in A Touch of Pink and Hydrangea Flowers beautiful colors!
Lighting, Turquoise desk chair, and curtains from IKEA
Horse poster from framedart.com (I attached a poster to a blank artist canvas with polyurethane with a bit of wrinkling in the process. I painted the edges black)
Vintage Furnishings and Bedding = personal collection

Happy New Year All!


Friday, December 6, 2013

Reclaiming


Having a partner with carpentry skills is a serious perk. In our new house, we have the space for my Mr. to have a shop, it is such a wonder that the both of us finally have our own creative spaces. It is awesome!  

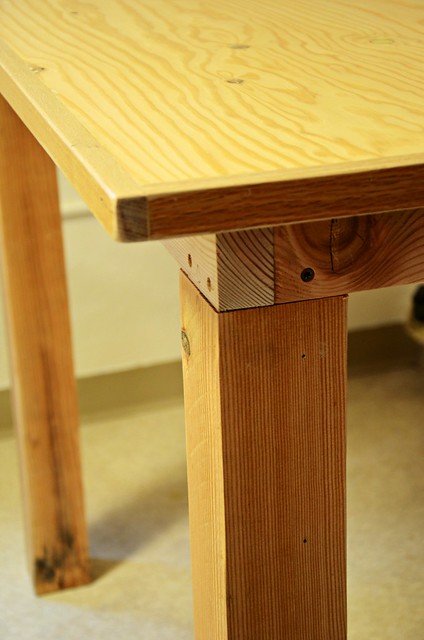
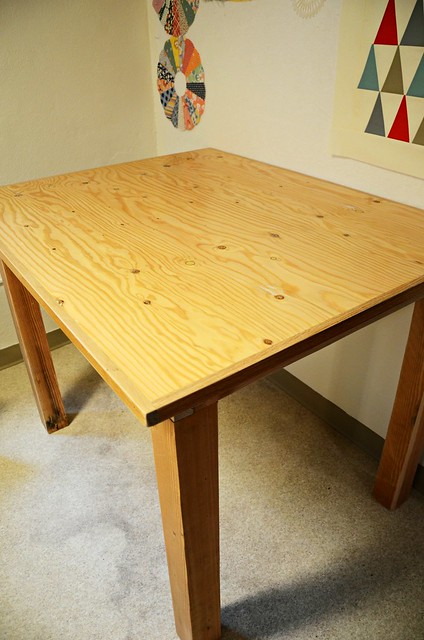
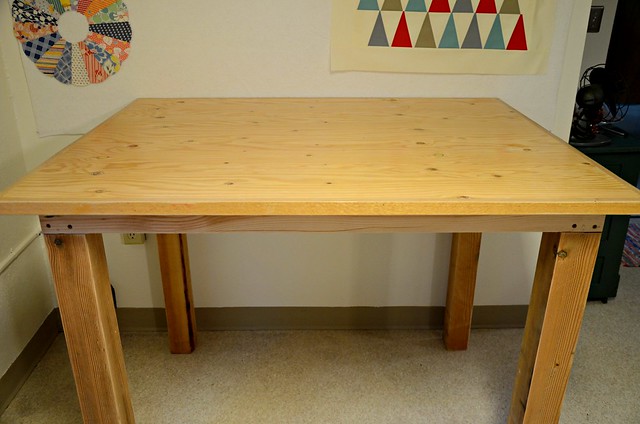
His latest project was built by him and made especially for me. I  am now the proud owner of a gorgeous and very sturdy cutting/work table for my studio. He made it to my exact specifications; it is the perfect height and size for working on all sorts of projects.


So, of course I love it. I love it not just because it was made by my Mr., or because it is exactly what I wanted and needed, but because of what this table was made from. Reclaimed wood, you see.

Not just any old reclaimed wood, but wood reclaimed from our new house. The legs of this table were made from posts that were part of the framing of the walls that we knocked down in my studio. Like bones from our house, strong and sturdy. The trim on the top of the table was milled from the oak fireplace mantle we ummm... dismantled. 


This table has a storied history even though it is "new." And I love that. It makes me happy. Not only was this a frugal project, but who knew we could shop for wood from our own home! Cool.


Every time I work at my new table, I will know this story and think of the Engineer building it by hand. So, as you can see, it's pretty much the greatest work table ever.

P.S. Thank you for my table dear!

Happy weekend!

Tuesday, March 12, 2013

Rules for Misfits


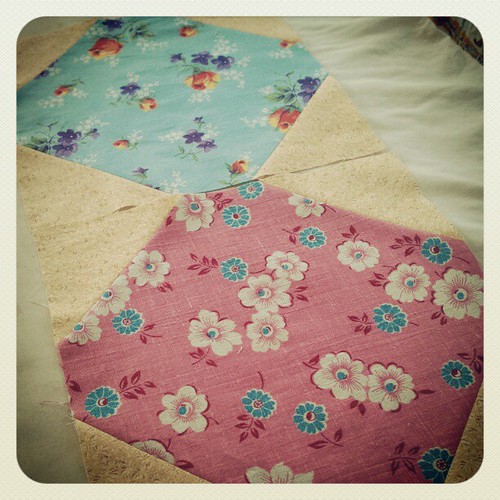
A little over a week ago, on a most unprecedented whim, I decided to make a quilt.  It's been ages, years even since I've gone down that particular path. I do believe I was inspired by my little misfit quilt that I picked up recently. To keep things simple (meaning: giving myself a real chance of actually ever finishing the quilt) I set up a few rules for myself.

Rule 1. I must not buy anything other than thread, only using supplies I have on hand.
Rule 2. Choose one pile of scraps from my hoard and use only the fabrics from that pile for quilt top.
Rule 3. Choose a very simple quilt block pattern.
Rule 4. (In 4 parts) I must not fret and worry so. I must not spend hours painstakingly rearranging blocks, then rearranging them again until it is perfect. I must let go of perfectionism. Just let it happen; a little random is good for me.

I must admit Rule 4 has been the most difficult to adhere to, but I managed somehow.


I made my first quilt when I was only 13 in Mrs. Bloomquist's sewing class. It was a miracle of early 80's dirty blues, tans, and maroons.  While piecing the thick polyester batting one day, my finger got in the way and the heavy duty Kenmore sewing machine sewed right through my finger tip! It was a very exciting and painful day in sewing class, ah memories! Though my quilt may not have been the prettiest thing going, I was so proud. I'll have you know too, that quilt was in regular use until 2 years ago when it was left behind at a music festival.

Later, when I was just a young 20-something, I fell hard for quilting.  Well, at least the piecing part of it all. I dreamed of one day owning my own giant quilting machine, Oh the quilts I would make!  Ah, but time marches on and while I did make some full size quilts, over the years I would whip up a few baby gift quilts of the small and manageable size.  And now it's been a long time since I've even done that.


I had forgotten the obsessive nature of making a quilt. It has been all consuming on some days. "What do you mean, what's for dinner? Can't you see I'm sewing a quilt?!"
Though I have been plagued by doubts and occasionally thought the whole thing looked a little bonkers, I have carried on.

Oh, I forgot to mention another rule I made for myself...
Rule 5. Break a few quilting rules!
Check!

For instance; sew a pieced quilt backing that does not actually match the quilt top. (I do so enjoy two looks in one you know.) Also, after sewing said backing, put it up as a curtain for a few days, why not?

 
As I have been sewing along, Pony Girl has made the request that this quilt be hers, "So that I can pass it on to my children and then they can pass it on to their children and on and on." Clearly, we are a family who loves misfits.

So that is my story of the making of a misfit quilt.

"What?" you say, "No fair, you haven't shown us the actual quilt!"

That my dears is because the quilt is not yet finished.  All the elements are in place, but things have got a bit busy 'round here and the final Ta Da! must wait. I assure you when I have a chance to get to the intimidating quilting part, and the last thread is snipped, all will be revealed!


Friday, October 5, 2012

Making Stuff

The creative sap did rise and I made.

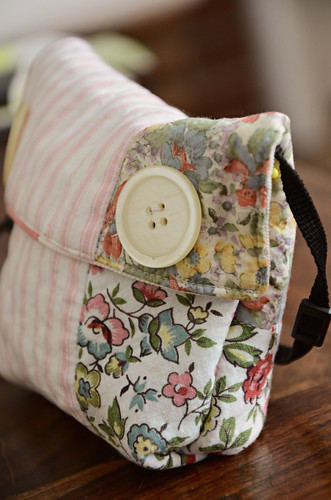
A slap dash little quilted camera case for my point and shoot travel camera.


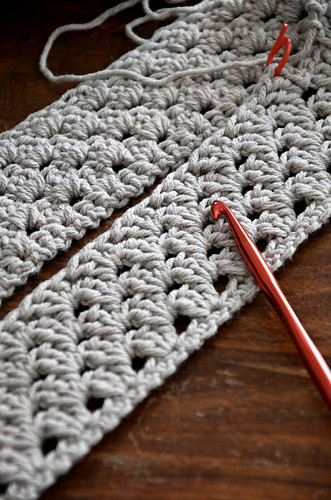
I managed a few good rows on my Granny Cowl with pretty but pesky gray cotton.


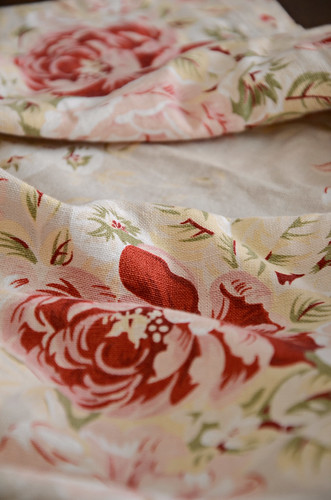
And I am eyeing this fabric for a bag, it's an unusual choice for me, but it is awfully pretty.

What are you making?

Have a happy weekend all!


Friday, June 29, 2012

Cheap, Fast and Easy: DIY Kid's Room Makeover

It was time, 7 years of purple walls (make that 'Smokey Lilac'); from babyhood, through toddler mayhem, straight on to little kid...there's bound to be a bit of grubby on them walls. It was time for a makeover. The criteria was strict; it had to be cheap, fast, and easy. It also had to be transitional, 'cause we may not be long for the little green cottage, it looks like we just might be moving on - more on that later. So there's that, and of course I had to consult Pony Girl.
She has told me that I may continue to call her Pony Girl "It's fine, whatever." But only until "The Muse strikes and something better comes along." Yeah, she said that.

She's going through a 'Red Period'. After I vetoed the red walls, I asked her for suggestions, "What do you want in your room?"
She said, "Butterflies, Surfer Girl, Animals, and Music."


The Mission:
Kid Room Makeover

Time Frame:
One Week. If you had the luxury of long uninterrupted days, you might be able to do it in 4.

Budget:
After painting expenses I allowed myself a budget of $50. If I had more time I would have lowered the budget by making more items.

The Vision:
Butterflies, Surfer Girl, Animals, and Music...and red.

O.k. I can do that; bring all those favorite things to life in one room - easy peasy. The key is color. I began by painting the walls a fresh light cream color.

Then we have the Neutrals: wood floors, wood furniture, cream and white, and a little gray. Then we bring in the main accent color RED. Then I added one more little pop of color with Turquoise.

Let's start with butterflies shall we?

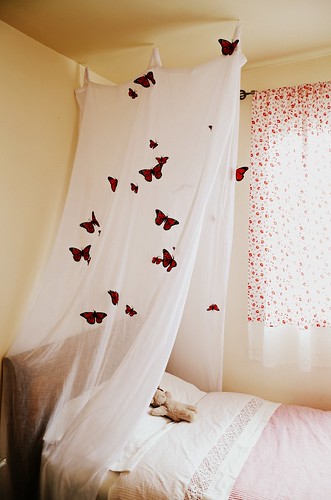
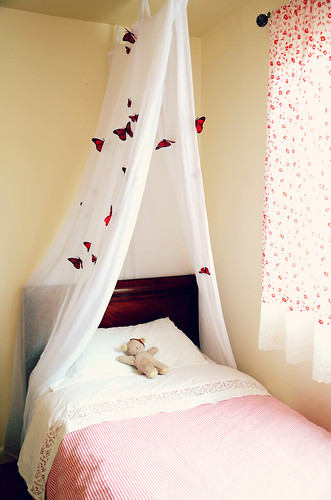
I made a sort of draping butterfly net over the bed by using 2 sheer tab top curtain panels that I had in my sewing space. I screwed a few hooks in the ceiling over the head of the bed and simply hooked the tabs onto to them. Then I found some red butterflies at my local craft store. The butterflies had long wires attached to them which I simply clipped short and stuck them into the curtain panels. Done!

If you don't have sheer curtains laying about, you could use fabric or even an old sheet cut in half length-wise, then sew some loops of ribbon to the tops. Not into butterflies? You could easily cut your preferred shapes out of felt or fabric and baste them on. Sea creatures, planets, birds, leaves, etc. would be pretty cool too!

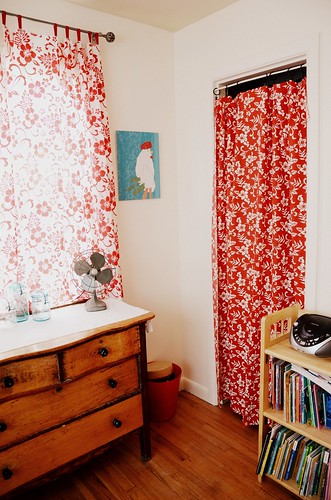
Now for 'Surfer Girl'. This was easily accomplished with a couple lengths of red and white Hawaiian fabric that I bought on the islands and have been hoarding in my stash. Now we have curtains!

For the window curtain I cut the length of fabric in half, quickly hemmed the cut ends and sewed loops to the two tops using bias tape/binding, you could use ribbon or twill tape as well. For the closet curtain I hemmed the cut ends of the fabric and used a spring loaded curtain rod with curtain clips. Done!

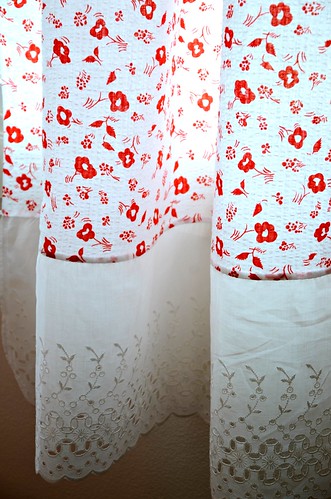
For the other window curtain it was pretty much the same process. I had some sweet white and red vintage seersucker fabric, but there wasn't quite enough to achieve the right length of curtains. So, I sewed some vintage white cotton eyelet to the bottoms of the curtain panels and Done!

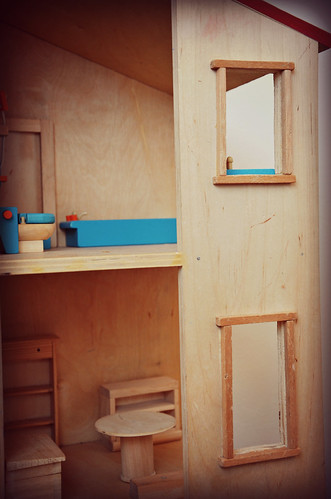
The inspiration for the Turquoise came from Pony Girl's dollhouse furniture. Plus, red and turquoise look great together.

Dollhouse handcrafted by the Engineer

Where were we? Oh yes, Animals!

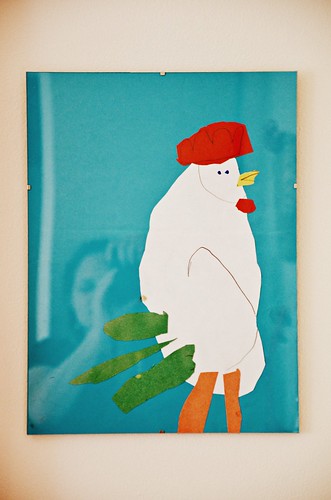
I can not tell you how much I love this chicken! Collage is one of my favorite projects to do with kids, I love the endless art that can be created. Just grab some colored paper and have at it! This picture already had the perfect color scheme and it's gorgeous; I just popped it into an old inexpensive frame I had around the house, instant art!

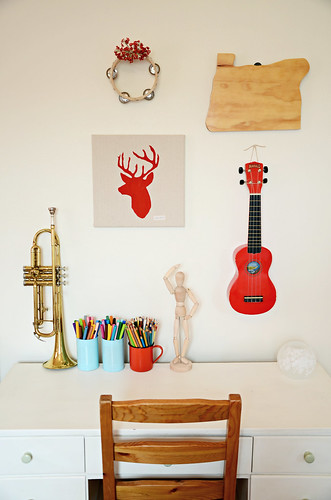
Animals and music over at the desk. The desk was originally found for free on the side of the road, given a fresh coat of paint and has plenty of drawers for storage of art supplies and such.

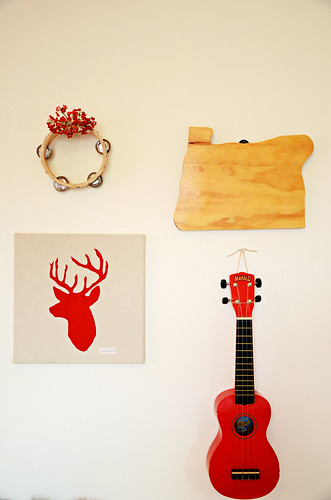
I spy 2 easy DIY projects. The wooden cut out of the state of Oregon was made by a family member. Simply trace your state, province, continent, onto a piece of wood, cut out with a jig saw, a little sanding and varnish and you got cool art!

I made the deer head by stenciling fabric paint onto a square of fabric scrap and stretched it over a cheap artist canvas and used a staple gun to secure it in place.

And of course I never tire of finding uses for spray painted food tins.

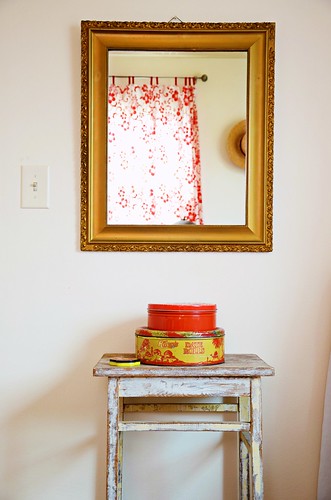
Next to the bed I placed an old end table with my grandmother's mirror. I used some vintage tins on the table to hold her rock and found treasure collections. Below the table is an old school locker basket to hold all of the current library books in one place (I realize that this may be a dream in the straw, but I'm hoping there will be less mad scrambling to find our library books come the due dates.)


My Turquoise weekend bag was sacrificed to Barbie storage. An old collapsible peg rack found at the local thrift for $1.50 was ugly, but nothing a little paint couldn't fix.


Galvanized tubs at the foot of the bed make for great toy storage. You could hunt down some great baskets from a thrift store too.

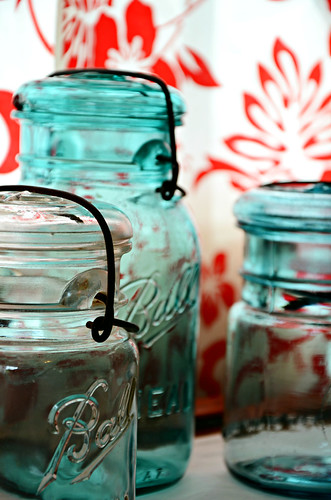
And a little extra pop of color on the dresser with my grandmother's blue canning jars will become storage for my girl's bead collection.


So, what I bought for the makeover:

Butterflies from the craft store $7.00
Galvanized Storage Tubs from the big home hardware store $15.00
Hat Rack from the local thrift $1.50
I splurged on a new muted red and white stripe Duvet cover from Ikea since I didn't have time to make my own $15.00

Grand Total: $38.50

Not too shabby!

I hope that maybe some of these Cheap, Fast, and Easy DIY ideas have inspired you!

Do you have any Cheap, Fast, and Easy DIY projects that you love?


Tuesday, December 27, 2011

Giving and Receiving Handmade

Hello Lovelies! I do so hope that you enjoyed, and are enjoying your holidays. It has been quite sweet here at the little green cottage, if a tad busy and messy. There has been a glut of good food, a windfall of friends and family, and an all around feeling of being very fortunate. I offer one caveat; it may be some time before I am up for baking cookies again.

It was a very handmade holiday 'round here, though I did very little of the hand making myself, wait... I take that back, the food was all hand made; the treats, the dinners, the bread, etc. and my hands were definitely involved in the making. Except for the traditional Christmas Morning Belgium Waffles which were all The Engineer (thank you again darlin', perfect as usual!)

Because I didn't have time to make much for the holiday, I purchased some handmade goodness to give. I thought I should share a little of the goodness with you.

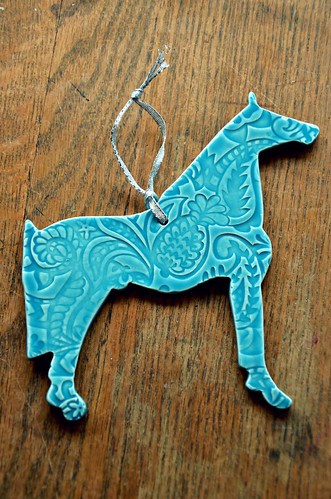
This gorgeous hand crafted ceramic horse ornament came from Christine's shop Shepherds Grove Studio. She was a joy to buy from and I couldn't be happier with the ornament. Pony Girl was pretty thrilled too!

Photo by Claire Moxon

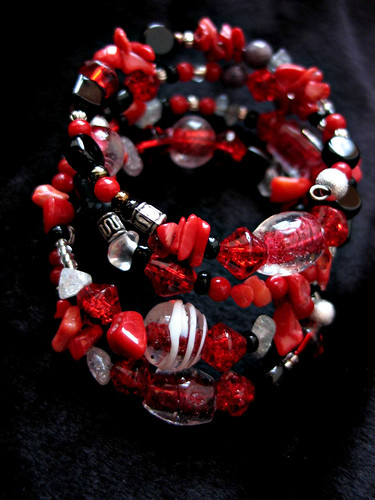
A stunning bracelet made by Claire from Scotia Spinner. Claire spins amazing yarn and beautiful fibre creations, and she makes wonderful jewelry. Claire is one of the first blog friends I met when Lola Nova started out. Please check out her great shop! I was very tempted to keep this for myself, but I did give it to my sister in the end.

On the receiving end of things - there were hand made earrings from my beautiful sister, handcrafted beeswax candles from the divine Crystal, art from my dear friend Tricia and more!

I did want to show a very special gift that was made for Pony Girl by Aunt Lydia.

This amazing paper doll kit made from fabric! Dolls and outfits, a quilted panel with pockets to keep the clothes in and all in a quilted carrying tote! The pictures don't do it justice. The amount of work and love that went into this is amazing, I am completely in awe! Thank you so very much Aunt Lydia, you are a doll!

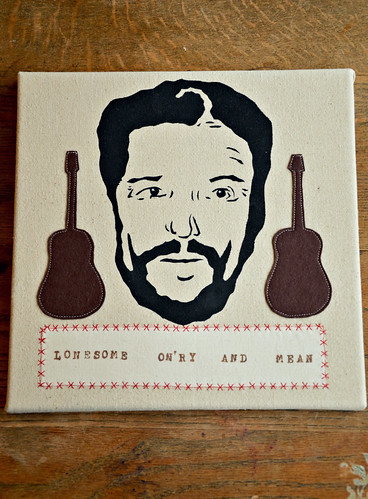
Lastly, I did manage to make one gift for the Engineer. He is a big fan of Waylon Jennings so I made him some wall art.

Here is a link to the original album cover I used for inspiration. My version is totally wonky, but my heart was in it.

Well, that's enough of my rambling on for today. All I can say is, I love handmade!