Showing posts with label DIY. Show all posts

Monday, May 4, 2015

More Adventures in Natural Dyeing


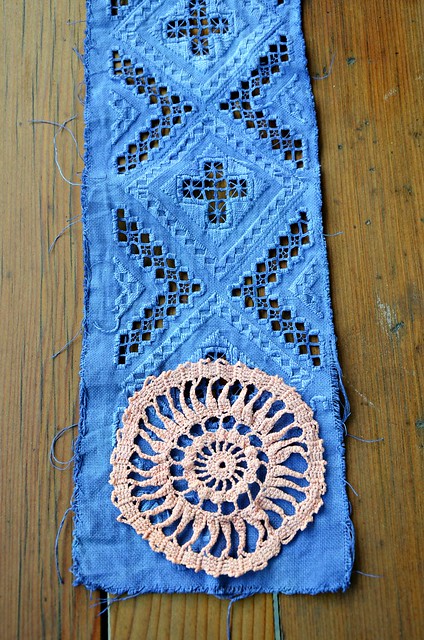
Yes, I've been at it again, I just can't stop! The most amazing results and surprises have come about, a few disappointments as well, but that is all part of the learning process.

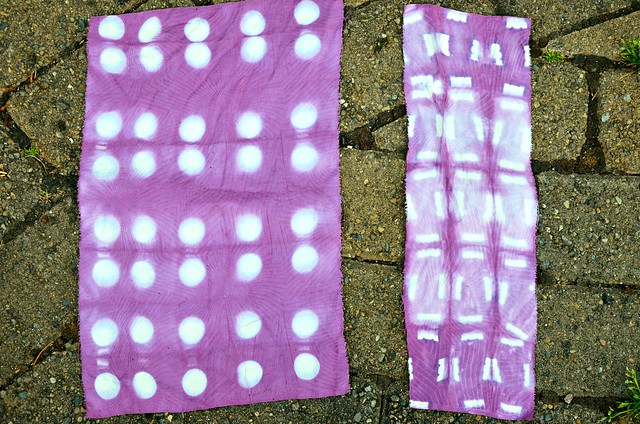
The biggest "Wow" moment came from dyeing with black turtle beans. Depending on the fabric I used, I got deep blues to bright purple. My neighbors must have though I was a bit crazy when I was exclaiming over the results. Oh let's just face it, the neighbors thought that already.


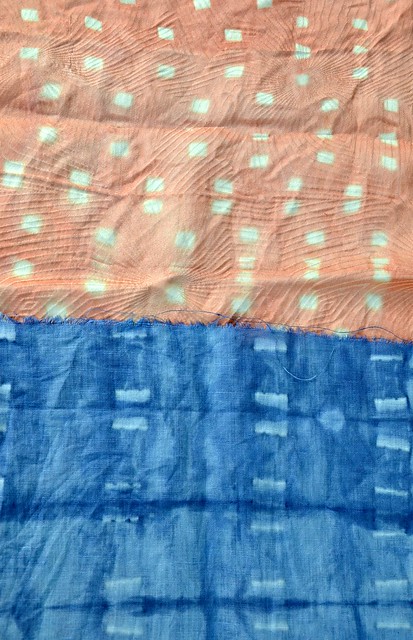
I also tried dyeing with some Madder root and played with folding and clipping techniques. This is really fun and creates the most interesting designs.


The Blueberries on vintage kimono silk was another surprise, I didn't think that the color would be so saturated and delicious looking!


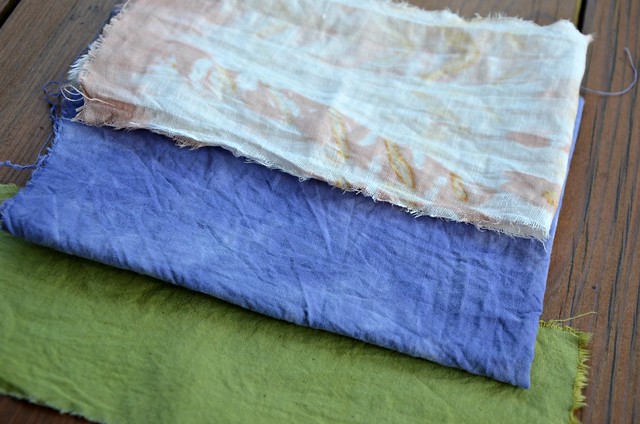
An experiment in over-dyeing created the loveliest green.


I'm even dyeing embroidery floss and loving the results.

Now, if I could just stop dyeing everything I can get my hands on and actually make something from my experiments! All in good time.

Happy Monday everyone!

Wednesday, April 8, 2015

DIY Paper Party Chandelier - Tutorial


Let's go back a bit, oh say a couple of weeks... it was a Friday and I was busy to-doing, getting things together for a party in BLUE. I was fluffing blue paper pom-poms (not my favorite task it turns out), hanging blue paper lanterns, draping blue beaded curtains, and dangling sparkling silver stars. My girl had asked for blue, but had not specified which hue of blue she preferred. There are rather a lot of shades of blue you know?  So, I just got as many shades as I could find.

At the bottom of my bag of tricks there was one little roll of $1.50 blue crepe paper. At the moment I could not for the life of me remember what my intentions had been regarding this roll of crepe paper when I purchased it. I looked around and noticed the large pendant light hanging from the center of the ceiling and it irked me, as it often does, but it was particularly clashing with the blue extravaganza I had in play. 

I decided right then and there that something must be done, some remedy must be found! So with my one roll of blue crepe paper in hand and about an hour or so left on my timeline, I set about upon a path of easy peasy cheesy DIY righteousness! 


I was not certain how this was all going to end up, but took some photos just in case I might stumble upon a kind of clever idea. In the end I was well enough pleased with my super thrifty endeavor and thought I'd share it with you here in brief. Perfect for parties and festivities of all sorts.

The DIY Crepe Paper Chandelier:

Materials:
One roll of crepe paper
Piece of cardboard about 12"x 12"
Marker Pen
Masking Tape
Paint (optional)
Roll of curling ribbon or other ribbon
Scissors
Push pins
(I had all of the materials at home already but for the crepe paper, chances are you will have most of these items too. Which makes this a very cheap project)

To Start:
click on the pictures to enlarge if needed

I traced around a large dinner plate onto my cardboard, I then centered a smaller salad plate inside the larger circle and traced around that to create two circles. Using scissors, cut out the large circle, then cut out the center circle. (It's ok to cut through the outer circle to get to the center, in fact, for me it was necessary to be able to open it up to get it to fit around my wide pendant light shade.) I then applied a quick coat of blue paint to one side of the circle just to make sure the cardboard wouldn't show through, but it isn't critical to the project. Let dry. 

Side Note: If the base of your light (the part attached to the ceiling) is larger than 8" you may need a larger piece of cardboard and then trace a large enough circle to fit around it.


 Next, cut even lengths of crepe paper: how long you cut them depends on how far you want them to hang down below the light (my lengths were about 34"). begin taping your strips around the wrong side of the cardboard circle as shown in the upper left photo above. Continue all the way around (upper right photo). Cut a second set of strips from the crepe paper a bit shorter than the first and tape each one between/overlapping the the first strips all the way around the circle as before. Next, cut lengths of curling ribbon (the kind used for wrapping presents) and tape them in even spacing around the circle. You can use more crepe paper and ribbon if you like. I used the entire roll of crepe paper I had and what was left of a roll of curling ribbon so that was my gauge of how much to use.


Next I used my scissors to curl the ends of the ribbon. I carefully centered my finished chandelier around the base of the light at the ceiling and used a couple of push pins pressed through the cardboard into the ceiling to keep it in place. Ta Da! 

Now that was seriously easy right? And thrifty! For all that last minute throw it together and hope for the best business, it was a big hit at the party and has me thinking of making some fancy ones with sheer fabrics and silk ribbons and... oh you know how I like to say: possibilities are endless!

Important Note: Make sure that your crepe paper is not touching a bare light bulb, you want to make sure you have a few inches between the paper and a hot bulb as this could possibly be a fire hazard. You wouldn't even have to use these with a light, they would make a pretty decoration on their own. Or use a safe LED light inside instead if you are worried. The glow does make it extra special.


Well, I hope you enjoyed this tutorial, it's not my usual sort of thing, but it is great fun and would be a perfect project to do with kids. And who can resist a chandelier? If you have any questions, please leave them in the comments and I will do my best to respond to them there.

Happy crafting!


Monday, March 9, 2015

Nice Rack!


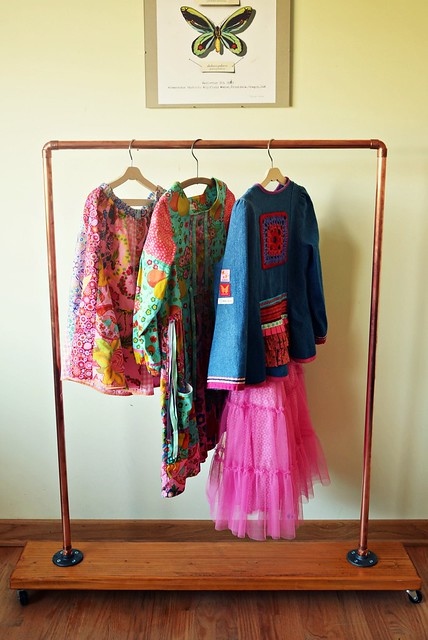
This weekend Woodworking with Sasquatch, aka The Engineer, made me this amazing rolling clothing rack for my studio. I love it! Isn't it a beauty?

I am one lucky lady. Thank you so much darlin'!

Monday, January 12, 2015

Sometimes crafting isn't pretty


We all know the saying, Necessity is the Mother of Invention. 

Sometimes I find when I'm stuck, in a rut, or waiting for the next spark of creativity, yet still feel the need to make something, I turn to what is needed in the home. In this exercise, I not only get my stitch on, but I end up with something useful. It saves a little money and my conscience is clear knowing that no sweatshop labor or bad practices are used. I use up scraps I have on hand that have been left over from other projects, so I have not had to purchase any materials. All of this is good.


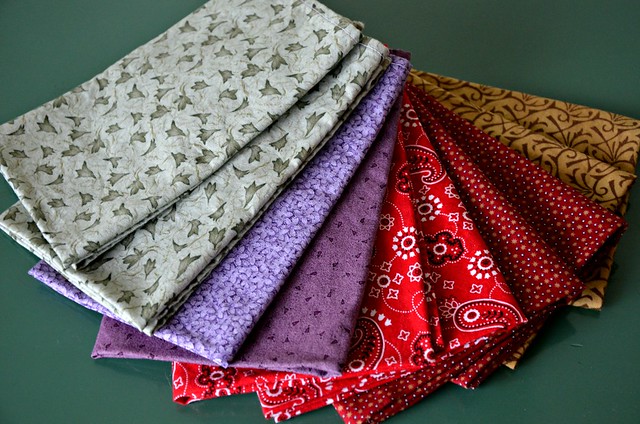
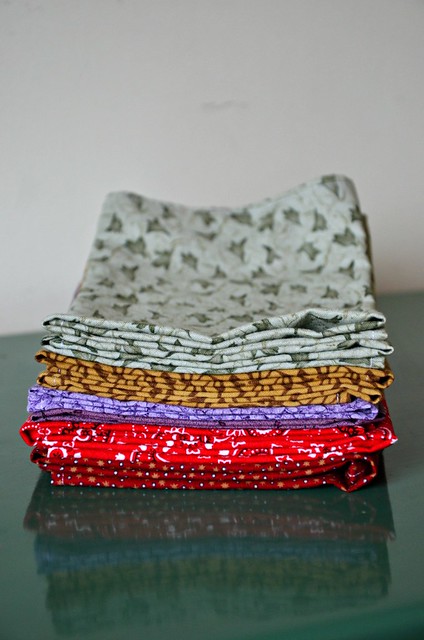
On the other hand, I often sacrifice form for function. I don't spend a long time deliberating, or perfecting. I jump in and just go. I mean really, pretty matching napkins are nice and all, but I have a good amount of scrap fabric that is well... let's just say it's not my favorite. Also, because we are in desperate need of cloth napkins, desperate to the tune of a goal of 20 new napkins, I am not willing to spend the time making sure my narrow hems are all exactly 1/8" and perfectly square. In fact, I am famous for not enjoying making the same thing over and over so making 1 napkin from cut to finish should take me only 15 minutes give or take.


We needed pot holders too. Since I had some of this stuff just laying around I went for it. Scraps again, randomly stitched together and definitely not pretty! Yes, I could have made beautiful pot holders, I could have spent hours on them, and I have, but those were gifts. So in the end, I spent a small amount of time and made useful if wonky things.

Seriously, these things are gonna get USED! They will get dirty and need constant washing and who cares if they aren't works of art? I don't. I filled a need, and this was my purpose. Sometimes crafting ain't pretty folks and that's ok.

Friday, November 21, 2014

Creative Blog Hop

I was invited by Lindsay of A Wooden Nest to join in a creative blog hop to talk about my creative process. I have been given a list of 4 questions that I will do my best to answer. Creative process is one of those tricky things that can be hard to explain, but I'm happy to give it a good try.


What am I working on?
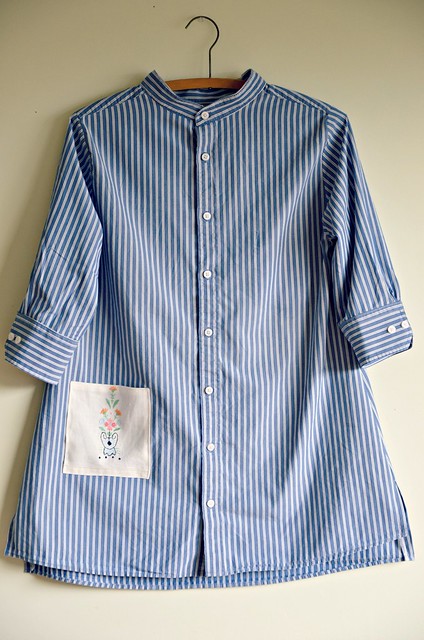
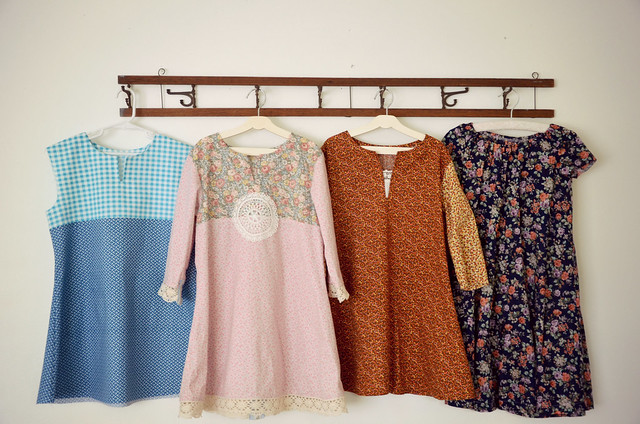
Sewing: I have been throwing myself into a project of refashioning, up-cycling, and re-imagining men's old work shirts that are no longer usable for their original purpose. I've been calling the project "Pa's Shirts." So far I have made 3 new garments for my daughter out of 2 shirts. This project speaks to my "mend and make do" and re-use philosophy, while at the same time challenges me to upgrade my skill set in alteration, pattern drafting, and creativity.


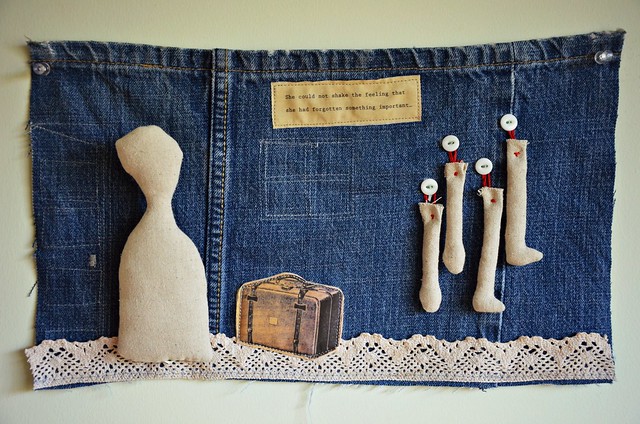
Mixed Media: I am continuing my work on The Stitched Journal Project, A year long endeavor that I have been so excited to share with other artists. The Stitched Journal Project is: Makers from around the world creating one "page" or piece of work per month and sharing. It is a project to get the ideas flowing, to process the days in a creative way, to try new techniques and to push past fears that keep us from making something.  It isn't about perfection, or getting it "just right," it is about process and perspective.
When I started this project I had no idea how it was going to influence me and my work. It has become such a valuable experience. It has freed me and taught me so much about my own creativity as well as being inspired by the work of other artists!


How does my work differ from others of its genre?
Hmmm... do I even have a genre? I'm joking. Reading the other blogger's posts in the hop, this seems to have been the hardest question to answer. It's no different for me. While I am not sure exactly how to answer this question, I do know that my work is always changing, my color ways, my interests and my techniques are always evolving. Like I said earlier, I do love incorporating formerly loved pieces into my work, giving new life to old things, finding new ways to show the tradition of handmade.


Why do I create what I do?
Most simply put, I create because I have to. That may seem a little extreme, but the truth is, I can't imagine my life without creating. It is part of who I am, what fulfills me, challenges me, excites me and makes my life bigger and brighter.  

I have always loved working with my hands, stretching my imagination and making things. It is a passionate affair that has been going on as long as I can remember. It helps me to keep in touch with myself, to slow down, to feel empowered. Whatever the creative endeavor; be it stitching, writing, making music, etc. it lets me express myself and be myself. 


How does my creative process work?
It all starts with a tiny seed of an idea. Sometimes that seed sprouts quickly and makes it's way to a full fledged project right away. Other times, it takes ages for that seed to germinate. Sometimes I am making my weaving way stumbling through it all. I find myself walking into my studio picking up the strangest pieces, working on the small, the details, creating laborious techniques, exploring funny ideas.  It's about textures and color and... imagination.

The ideas can come from anywhere and everywhere. A song on the radio, everyday chores, an overheard conversation, the way someone is dressed on the street, and of course, necessity is the mother of invention. I'll often make a list in my creative journal, sometimes a drawing or five and then work those things in my head until they become more concrete, and take shape.


If I'm feeling stuck I love to get out into nature, go for a walk or hike and just keep my mind open and free. Listening to music can jump start my creativity as well.

I don't have a strict creative regimen to my process, it often happens more organically and spontaneously. I am endlessly inspired by my daughter, my family and my community. 

Thank you Lindsay for inviting me to participate in this blog hop, I am honored. Please go visit Lindsay, Kristina, and Ness, to read their inspiring posts and follow their links to others on the blog hop!

Tuesday, May 27, 2014

Dismantle Re-mantle

This is one of those "Before and After" posts. One of the DIY projects that took up a good chunk of time in the last two weeks (one of many). It's also a lesson in making the most of what you've got.

Our house is a work in progress. I think most homes are really, because life is a work in progress... always changing. When we moved in one of the things that just didn't fit was the living room fireplace surround and mantle. What we had was a behemoth honey oak mess that was not original to the house and stood out like a sore thumb. Not everyone saw it that way, some people even liked the darned thing! It didn't help that the wall behind it was a nice 80's mint green.  It just wasn't right for us, or the mid century architecture of the house.
The thing was, we didn't have the money or the time to make it exactly how we wanted, not right now anyway. So, we worked with what we had and gave it a makeover.


The Engineer and I tackled the top mantle portion, dismantling the large jutting out shelf part, which just took some careful pounding with hammer and mallet. Much of that mantle wood has already been re-purposed and used in other projects in the house.


Next, I got to work with a medium fine sanding sponge and carefully scuff sanded the entire surface including all the nooks and crannies. I followed this with a coat of oil based primer. After that came three coats of an eggshell finish acrylic in a soft white.  The wall behind also required three coats of the same acrylic paint.

We then replaced the mantle with a large salvaged slab of Ponderosa Pine. The Engineer cut it to size and gave it just a light sanding to keep the rustic nature of it intact. The slab was skirted with a bit of black walnut that The Engineer had in the shop. Finally, the fake gold vent cover was replaced with an original piece (again made by the Engineer) created from some old pallet wood. It sure is handy having a partner who also happens to be a woodworker!

All told the makeover cost about $75. Not too shabby. We are pretty happy with how it all turned out.
Now on to the next thing on the list!


Friday, January 3, 2014

I Promised Her Pink


When we decided to look in earnest for a new house, My husband and I talked about it with our girl. At first she was excited, then the next day she announced that she didn't want to move, because "our house has all the stuff and all of my memories!" There were a lot of conversations, reassurances, and promises that we would never, ever forget our life in The Little Green Cottage. We told a lot of stories about the years we lived there, it was the only home she had known, it was a big deal.

They say moving is one of the big deal stressful events in our lives as adults, it's true. It's a big deal scary thing for kids too. I did promise that she could decorate her new room however she wanted, and that I would help. I promised her pink.


So... moving house, big plans, bright ideas and then... reality. Our girl has fully embraced the new house. It only took a few days of exploring the garden and she was smitten. Still, 5 months on and she's picked out her paint colors and asking me, "So when are we going to paint my room? Like you PROMISED." I believe that it is vitally important to keep one's promises to children, that's why I don't make a lot of them. Sometimes my promises take a little longer to come to fruition, but I do make good.

The only "before" picture I could find. Drab olive green walls.

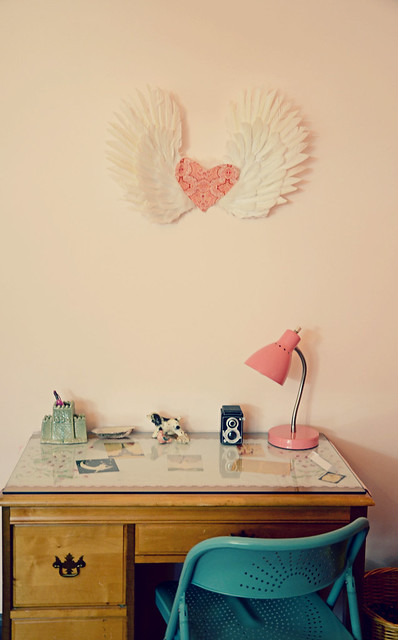
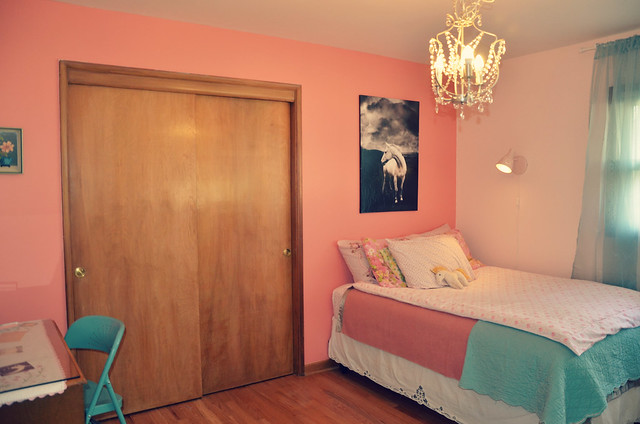
So, while she was away visiting grandparents recently, I got to work transforming her room. I had been taking notes for the last few months and knew the most important details; such as, there absolutely had to be a crystal chandelier!


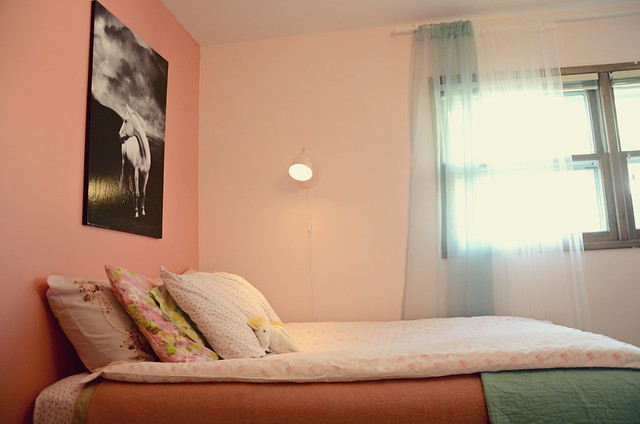
I took down the old light fixture and wired a crystal chandelier in it's place. She also needed a reading light by the bed for those night time reading sessions. I installed a wall sconce over the bed.
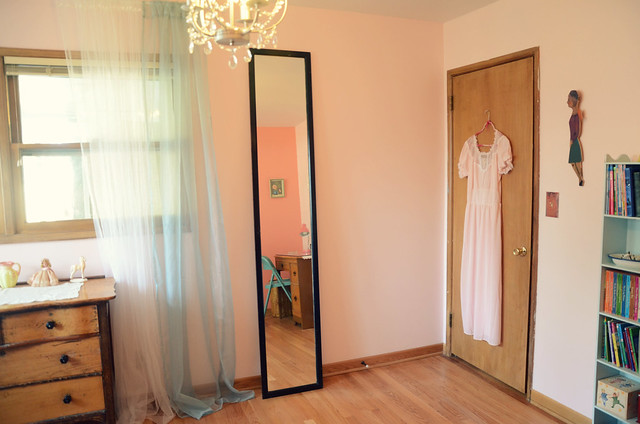
There needed to be 'flowy" curtains. I added a strand of fairy lights behind the corner gauzy curtains for a little bit of extra magic.


To tame the overwhelming amount of pink going on, I added bits of turquoise throughout the room. The little dresser has belonged to me since I was 16, it has amazingly made it through years of moving and adventures.


The sweet desk came from my favorite neighborhood vintage shop. As it had a glass top, I placed a vintage embroidered runner (pink of course) under the glass along with some vintage Parisian ephemera that I printed from the computer. Our girl loves all things Paris!

And a horse of course, she's still Pony Girl through and through!


I had such a good time working on her room, in fact I kind of wanted to move in myself. Now, this is no magazine makeover. There wasn't any money in the budget for new bedding, a rug for the floor, or a bed frame. This is a real life DIY room makeover. With plenty of opportunity for our girl to make it truly her own and add to it down the line. It was a wonderful chance to show my daughter that I had been listening to her, what she wanted for a room of her own.

Oh, and yes, she loves it! She has been spending much more time in her room since she came home. That is a good sign I think. I promised her pink and now she's got it!

Now, for the rest of the house! Well, give me a year or so.

For those who want to know the nitty gritty:

Benjamin Moore paint in A Touch of Pink and Hydrangea Flowers beautiful colors!
Lighting, Turquoise desk chair, and curtains from IKEA
Horse poster from framedart.com (I attached a poster to a blank artist canvas with polyurethane with a bit of wrinkling in the process. I painted the edges black)
Vintage Furnishings and Bedding = personal collection

Happy New Year All!


Wednesday, August 15, 2012

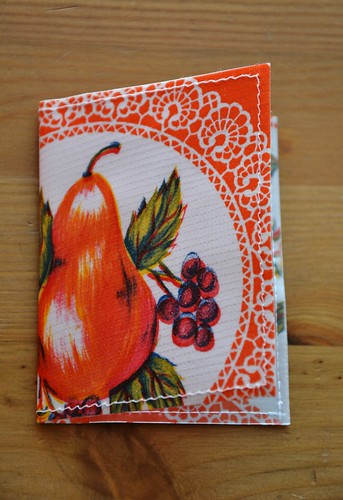
Quick Sticks Card Caddy: A Tutorial for a most excellent quick stitch card wallet

Necessity is the mother of invention. So yesterday my need for a slim little card carrying wallet kicked me into action and invention.

Recently, I attended a three day music and camping festival. It was hot and there was a lot of walking and wandering to be done at such an event. The trick is to carry a minimal amount of accoutrements on ones person, besides the ever present water bottle I wore a wee festival purse, nice and light weight with only the essentials. My wallet had to be left behind as it suffers from a spot of the syndrome known as The Costanza Wallet. What with my ID, credit cards, debit cards, library cards, health cards for the entire family, grocery market member cards, local business support cards, various business cards, and etc., It takes up a heap of room and getting out my ID and importants is a struggle. However, I found having these things loose in my wee festival bag was precarious, and I wished I had something compact and useful for the few necessary cards I was carrying. Something like a handy free-style pocket, as I am rather fond of a handy pocket don't you know.

I have found that such an item is not just good for the carefree festival days, but indeed an all year round, every day sort of good. Since I am not one to scour the interwebs for just the perfect item, or spend hours looking for a how-to that isn't exactly right; I simply got to work with a couple of scraps and my sewing machine.

The result was so quick in the making and most excellent in the cute and useful department that I thought I just had to share it with all of my friends here! So, enough of my rambling ways, let us get on with the Tutorial (the nitty gritty details)!

Ingredients:

A scrap of oil cloth - measuring at least 12" x 7" (30.5cm x 18cm)

A scrap of clear vinyl fabric - measuring at least 7" x 5" (18cm x 13cm)

Ruler, thread and scissors

Note:
You can find oil cloth and clear vinyl fabric in many fabric stores and some craft stores, and of course there are many sources on-line.

Note of disclaiming: My inches to centimeters conversion is approximate and untested, just sayin'.


Instructions:

Cut 2 pieces of oil cloth measuring 3.75" x 5.75" (9.5cm x 14.6cm)

Cut 2 pieces of clear vinyl measuring 2.25" x 3.75" (5.75cm x 9.5cm)

Place the 2 pieces of oil cloth together with wrong sides facing, raw edges meeting.

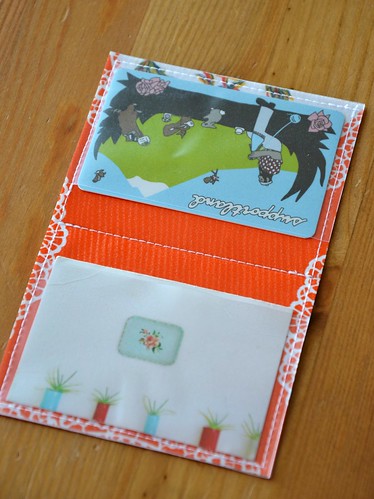
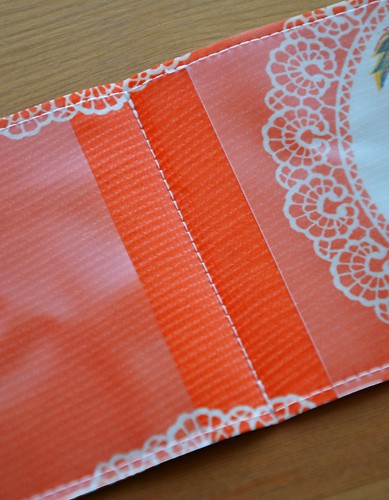
Place the 2 vinyl pieces even with the inside outer short edges of the oil cloth as pictured. (It is up to you to choose what side you want to be the inside of your wallet)

Take your arrangement to the sewing machine, using a straight stitch, sew 1/8" (3mm) from the edge and through all layers making sure to back stitch at the beginning and end of stitches.

This is the only tricky part as the materials are a bit slippy. If you are having particular trouble with slippage, use a bit of tape to hold the pieces together then remove them after stitching. I managed to contort my hands awkwardly enough to keep it together without tape, but it took some practice.

Once you have sewn the layers together, fold the wallet in half and finger press a crease down the middle. Sew a row of stitching down the crease as shown. Re-fold the wallet in half along the stitch line.

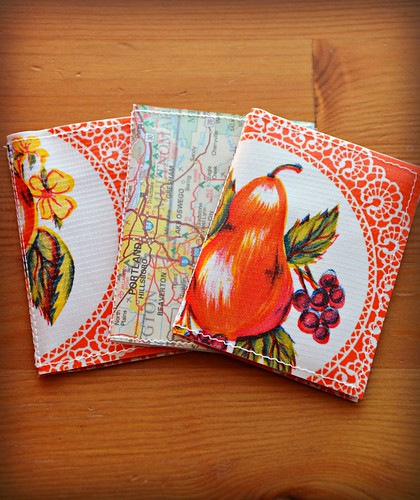
Next you need to... oh wait, you are done already! Holy smokes that was fast! Your Quick sticks card caddy is ready for action!


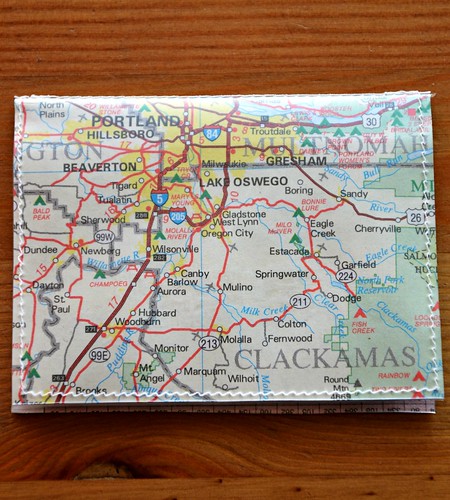
Once you make the first one and realize how easy and quick this project truly is, you'll want to make some more. I made 3 in no time! I even tried out making one from all clear vinyl, then slipped a cut piece of an old map in between the outside and the lining, tres hip no?


Uses:
ID Holder
Card Caddy
Business Card Carrier
Gift Card Presenter
Slim Bi-fold
Stocking Stuffer
and on, and on...

You could make the wallet with out the clear vinyl, you just wont be able to see through to the cards. You could make it out of felt as well.

Well, I do hope you have enjoyed this quick stitch tutorial! If you have any questions, ask away. And as always, if you make one I would love to know about it; please upload a photo of your card caddy to my Flickr group HERE!

Happy Stitching!