Showing posts with label mend and make do. Show all posts

Monday, November 17, 2014

Pa's Shirts


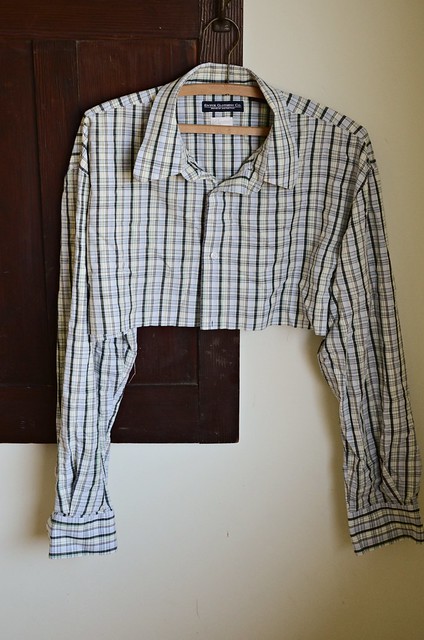
As I finally started tucking into the collection of the Mr.'s old shirts that I've been collecting for ages, I began the imagining the endless possibilities to refashion and upcycle them. I unpicked pockets and ripped out collars trying to adjust to the new development of reading/stitching glasses slipping down my nose. It's been cold out with an icy wind so I sat by the fire and I had to laugh, I suddenly had a vision of Little House on the Prairie. Here's me, "Ma" making clothes for the child out of Pa's old shirts.

It started a while back with this skirt...


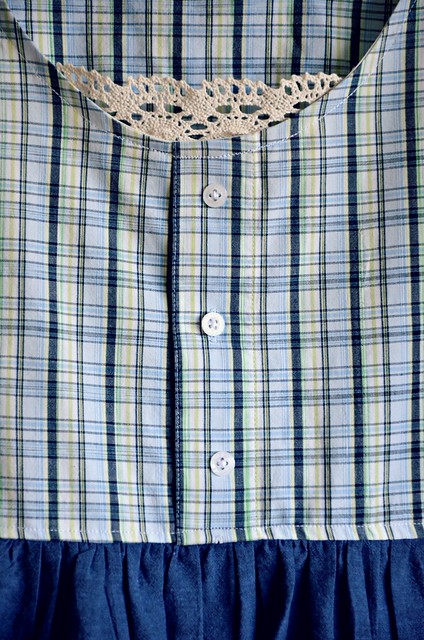
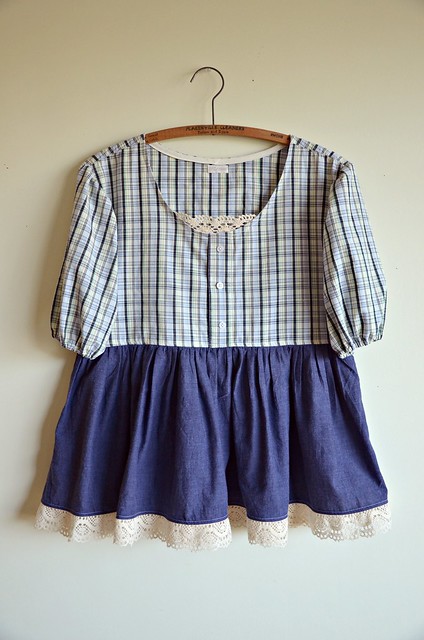
Yesterday I finished off this shirt made from a shirt. Should we call it a Tunic instead? I'm unsure. I do know that I was helped by my young assistant who suggested the addition of lace. She was quite right about that I think.


Since I last posted about my 6 (and a half) shirts, I uncovered 2 more shirts hidden in the mayhem of my studio. So, I have many more chances to re-imagine and turn them into something else. I think perhaps a dress will be next.


What have you been up to?

Wednesday, July 9, 2014

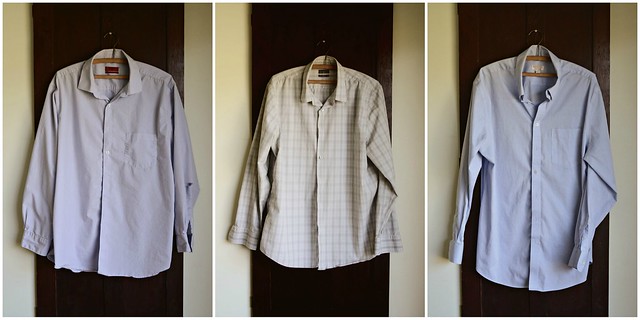
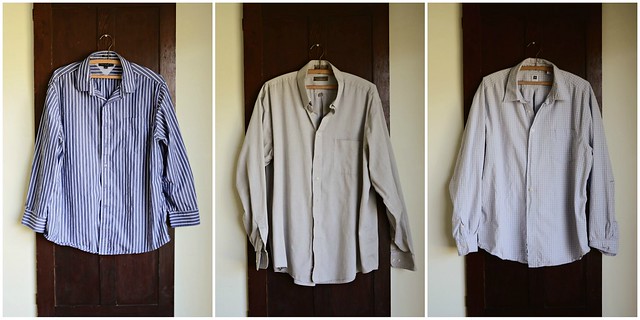
6 Shirts


I may have mentioned awhile back that I have been saving up some of the Engineer's old work shirts. I made a sweet little skirt and had grand plans to make a few somethings from the rest of the shirts. That plan, my friends, took the long way 'round and other mayhem took it's place in line.


The other day as I made a half-hearted attempt to organize the overflow in the studio, I came across my collection of shirts. I was reminded of my grand plan and felt that I had 2 choices. My only options were to 1. Make good on my threat to come up with at least one new idea on the remaking of a man's work shirt (do you know how many tutorials, how-tos, and refashions there are out there on the interwebs? There's a lot!) and 2. Throw the lot of 'em into the recycling bin.

I have 6 shirts...
and a half...


It seems the Engineer has rather aggressive elbows, they seem to be the breakaway reason for a shirt's retirement. So... what am I gonna make? How long will it take? I've no idea, but I hope to throw in a tutorial here and there.

For a fleeting moment I considered a quilty type project, but then I remembered that I'd done that already.
So, my mind is a-whirl; all tempest in a teapot, hurly-burly reckless with imaginings... in subdued hues of blue and gray.

Wish me luck!

Tuesday, May 27, 2014

Dismantle Re-mantle

This is one of those "Before and After" posts. One of the DIY projects that took up a good chunk of time in the last two weeks (one of many). It's also a lesson in making the most of what you've got.

Our house is a work in progress. I think most homes are really, because life is a work in progress... always changing. When we moved in one of the things that just didn't fit was the living room fireplace surround and mantle. What we had was a behemoth honey oak mess that was not original to the house and stood out like a sore thumb. Not everyone saw it that way, some people even liked the darned thing! It didn't help that the wall behind it was a nice 80's mint green.  It just wasn't right for us, or the mid century architecture of the house.

The thing was, we didn't have the money or the time to make it exactly how we wanted, not right now anyway. So, we worked with what we had and gave it a makeover.


The Engineer and I tackled the top mantle portion, dismantling the large jutting out shelf part, which just took some careful pounding with hammer and mallet. Much of that mantle wood has already been re-purposed and used in other projects in the house.


Next, I got to work with a medium fine sanding sponge and carefully scuff sanded the entire surface including all the nooks and crannies. I followed this with a coat of oil based primer. After that came three coats of an eggshell finish acrylic in a soft white.  The wall behind also required three coats of the same acrylic paint.

We then replaced the mantle with a large salvaged slab of Ponderosa Pine. The Engineer cut it to size and gave it just a light sanding to keep the rustic nature of it intact. The slab was skirted with a bit of black walnut that The Engineer had in the shop. Finally, the fake gold vent cover was replaced with an original piece (again made by the Engineer) created from some old pallet wood. It sure is handy having a partner who also happens to be a woodworker!


All told the makeover cost about $75. Not too shabby. We are pretty happy with how it all turned out.
Now on to the next thing on the list!


Monday, February 25, 2013

Mending Monday


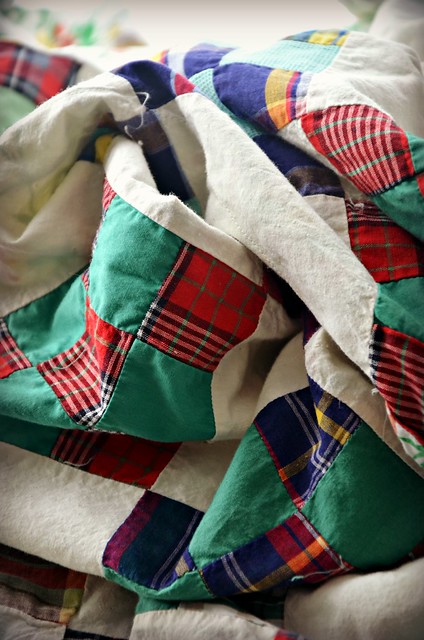
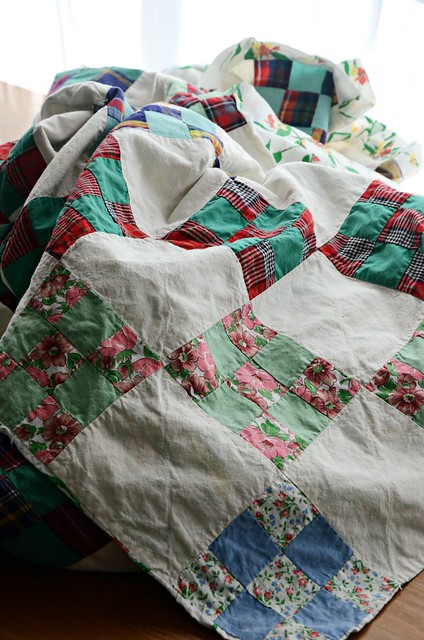
You all know I have a soft spot for orphan quilts, right? Perhaps not the prettiest, definitely not the much sought after antiques - though sometimes vintage, those wonky first attempts, those gifts given that were perhaps not to the taste of the giftee, or those that have been well used and loved, yet still ended up orphaned on the racks at the local thrift.


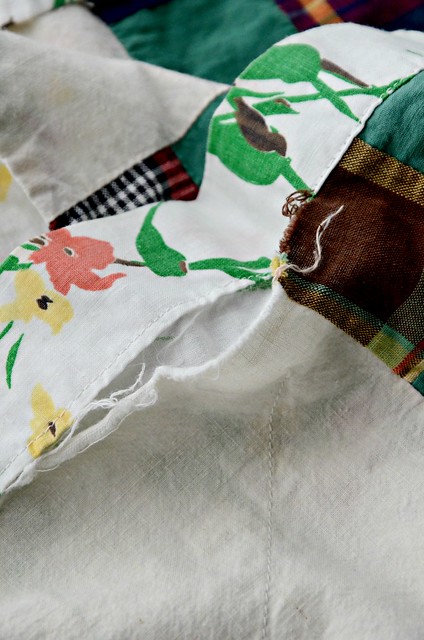
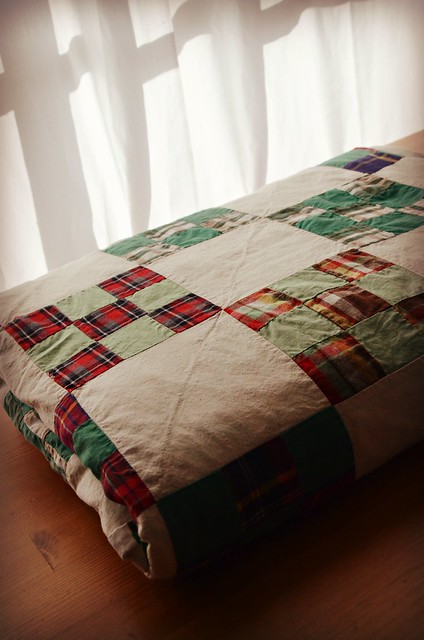
The other day I needed a little pick-me-up and wandered into my local thrift store, my girl needed some new blue jeans and I needed to wander amongst the cluttered shelves for a look-see.  There on the rack of dodgy flannelette sheets was just such an orphan quilt. A plaid 9 patch number, "Well hello funny face!" said I. I noted it's hundreds of loose threads, it's random corner of floral patches, and the occasional open seam.


Of course none of these things deterred me, in fact they only served to endear me even more.  And so into my basket went the orphan quilt and then it came home with me.  It has gone through a good washing and a close inspection.  No matter the iffy nature of any quilt one finds at the local thrift, I know all too well how much work goes into each and every one.


So today is mending day, and as I clip loose threads and mend ripped seams, I think about the making of this quirky little quilt.  Sometimes I make up a story about the person whose hands toiled to craft it, a story about the quilt's life.  The quilts I find may not be the prettiest or the most well made, but I love them all the same.


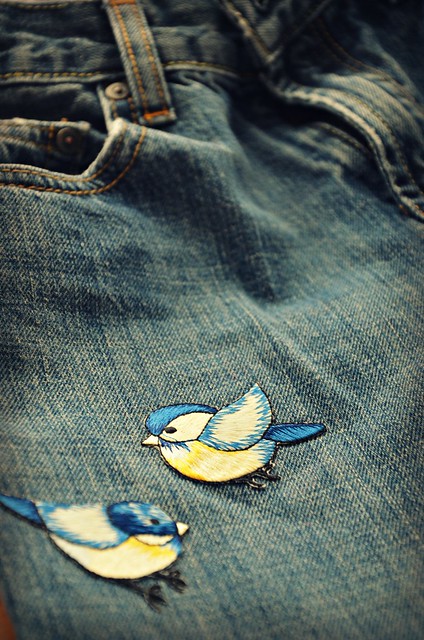
Oh, and those blue jeans need hemming and maybe a bluebird or two and some butterflies.  I'd better get to it!


Happy Monday!

Saturday, December 12, 2009

Mend and Make Do

It seems my announcement of the computer's death was a bit premature. Upon closer inspection, the computer had a pulse and was heard to whisper, "I'm not quite dead yet." So, thanks to some clever IT guys at The Engineer's workplace and to The very handy Engineer himself, the old box was resuscitated. Thank goodness! I've been speaking to it in quiet and encouraging tones, hoping to keep it happy and healthy.

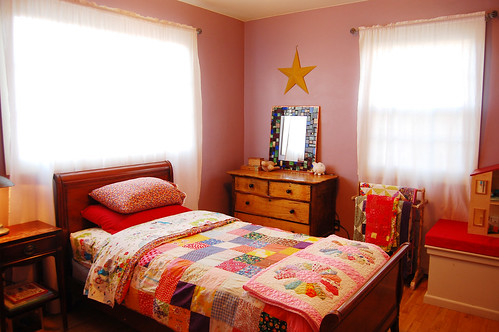
So, what have I been up to in the meantime? Have I ever told you that I like to arrange things...and then re-arrange? I sometimes get an overwhelming urge to move the furniture about, change out the nick-knacks, replace the wall art, or re-do the order of things. I can't help it. This time my target was Miss Ringlet's room.

What with the cold snap we've been having, I thought her room needed some warming up. The bed needed to come away from the chilly wall it had scooted up against and to be honest, it was looking a little frumpy. That little bed needed a good dose of dress up.

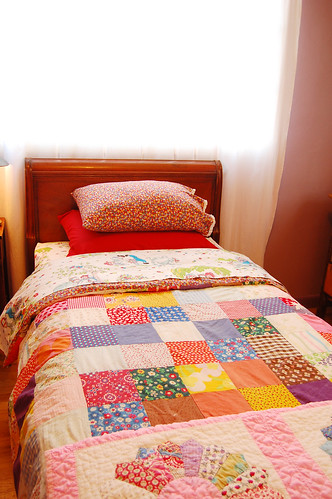
The quilt that was on my bed when I was her age had been made by my mother. It was a bright and skippy patchwork made from squares of groovy 60's and 70's fabric. I loved it. I used to run my hands over the quilt and pick out my favorite squares. She even made a matching pillow case to go with it.

So, down to the basement I go, crawling on my hands and knees under my sewing table, pulling at boxes until I find what I am looking for. There it is, my quilt! The batting had gone all shifty and lumpy, there were holes and tears and a general fading due to years of love and service. Oh look! There is the pillow case too! I spend a moment with the seam ripper and unpick the hand stitching at one end. Then out comes the unruly batting. A few patches and mending and it's looking pretty good. Not having any batting in the size required, it strikes me to turn it into a duvet cover. Testing it out, I find it is an exact fit for the plain white comforter on my daughters bed, perfect!

It is also quite a thrill when I recall the vintage Raggedy Ann and Andy sheets that I saved from my grandparents house when my Papa moved. After I dress the bed, I realize that I have pretty well re-created my own childhood bed. I hope that it brings as much comfort and warmth to my little gal as it did to me. She was consulted on all of this and was quite agreeable to the spiffing up.

As I stood back and looked at the room I was struck by how nearly everything in that room was handmade, thrifted, handed down and passed on. The dollhouse, toy chest, cushions, curtains, mirror, some of the quilts, were made by my husband or I. I've had the dresser since I was 16...bought by my mother at a garage sale. The bed frame was scavanged from I don't know where and other quilts were made by family and friends or bought at yard sales. The quilt rack and end table were family pieces passed on to me. It felt satisfying and humbling, to look upon this collection of everyday items, costing so little in money but, so rich in history...crafted by hand and so colorful in their storied travels.

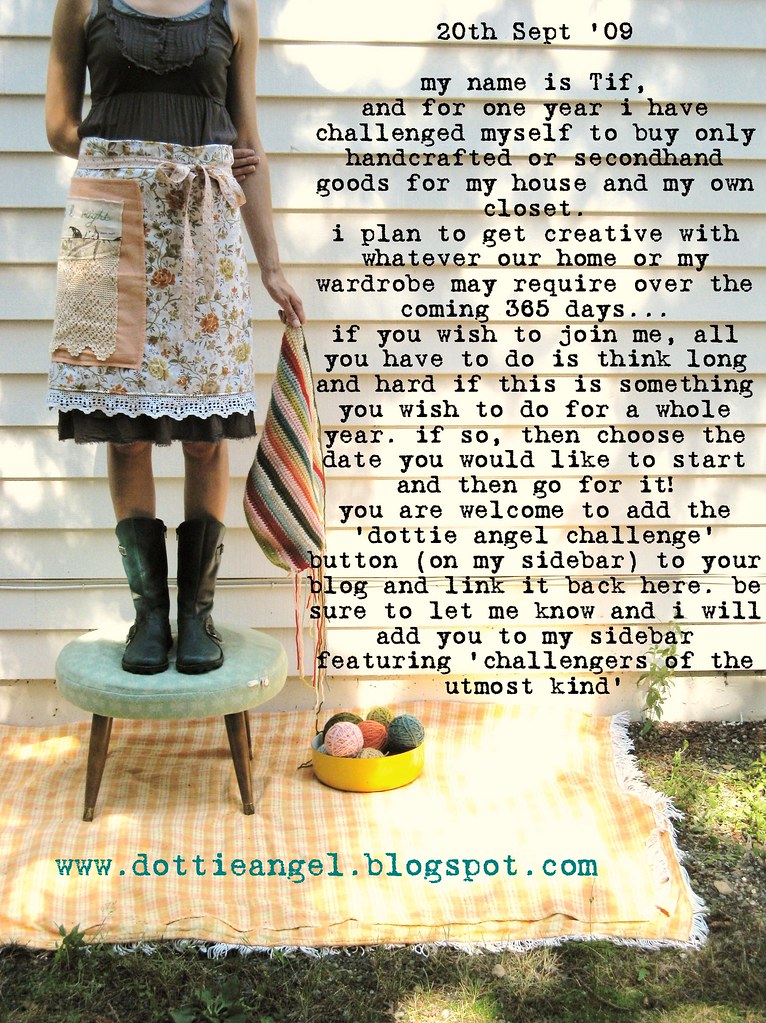
Miss Ringlet is rather pleased and I must say, I love how it turned out. And, it must be noted that I am happily rolling along in "A Challenge of the Utmost Kind," suffering not at all. Who needs Ikea? Not I.

It's good to be back my dears. Have a stellar weekend and I will see you again next week with stars in my eyes and other nonsense. I am away to bake cookies and make more handcrafted presents.