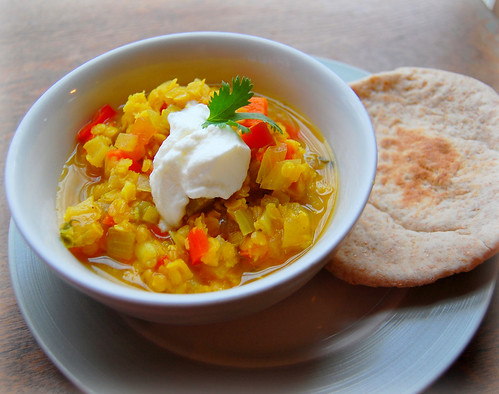
 After the over-indulgence of the holidays, I was craving something a bit healthy, fresh, delicious and comforting. Hmmmm...
As I looked 'round the kitchen, I spied a jar of gorgeous red lentils and had my "AH HA!" moment. I began gathering ingredients and working out the details in my mind. Now, I was ready to create. The end result was just what I was after, it hit the spot.
I thought I would share the recipe with you here. Whilst it may appear to have quite a few ingredients, it is a simple recipe and only takes about 20 minutes of active time and then simmers away. I hope you like it.
Red Lentil Stew
Ingredients:
1 1/2 Tablespoons Olive Oil
1 onion, diced
3 garlic cloves, minced
1 lg carrot, diced
1 celery rib, diced
1 red bell pepper, diced
1 tomato, chopped (you can substitute 1 cup of canned diced tomatoes)
1 rounded teaspoon ground cumin
pinch of red pepper flakes
1/2 teaspoon salt
1 cup dried red lentils
4 cups broth/stock (I used homemade chicken stock but, you can use vegetable if you want to make it vegetarian/vegan)
1/2 cup white wine
2 Tablespoons chopped fresh cilantro (you could substitute parsley if you aren't fond of cilantro)
juice from 1/2 lemon
Preparation:
Heat oil in a 4 -5 quart heavy saucepan over moderately high heat until hot but not smoking, then saute onion, stirring until golden, about 5 minutes. Add garlic, carrots, celery, pepper, tomato, cumin, red pepper flakes, and salt and saute, stirring for about 3 minutes. Add lentils, broth, and wine. Bring to a soft boil then lower heat and let simmer, uncovered, stirring occasionally, until lentils are tender, about 30 minutes. Once the lentils are tender, remove from heat.
Stir in cilantro, lemon juice and season to taste with salt and pepper.
I spooned it over cooked brown rice and served it with whole wheat pita bread. The Engineer liked his with hot chili sauce drizzled on top, while I preferred a dollop of plain low fat yogurt on mine. Yum!
What are you having for dinner?