
Happy Friday! Oh my, it's a big day over here at Lola's. There's that promised crafty tutorial and the announcement of the
Summer Wallet give away!
First, the Engineer did me a solid and randomly picked a winner from my pretty thrifted pot. And...the wallet goes to
Aussie Waffler! Congrats my dear, just email me your address to
lolanovainfo@gmail.com and I will pop it in the post right quick!
Now for the crafty part!

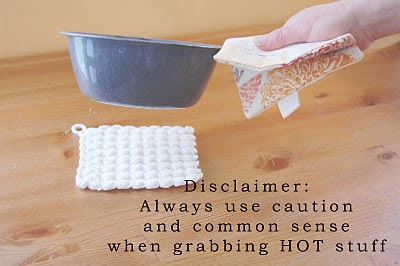
If you are at all like me, when it comes to grabbing a potentially sizzling pot handle, you reach for the nearest dish towel and use it to pick up your bubbling gourmet creation. In the little green cottage, this is a potential fire hazard as we have a gas stove, those trailing tails of towel could go up in flame at a whisper. There is also the "wet towel" syndrome, if the towel is at all wet...well, water conducts heat (according to the Engineer) and you get burned. If you are not like me, but instead much more prepared and safety conscious, you own a sufficient number of fire avoiding, burn lessening devices called, "pot holders".

I was reading on someone's blog (and I apologize if it was yours and I forgot where I read it so that I can not give
you credit for
my big idea), about this blogger wanting to make a pot holder. I thought to myself, "you know Lola, a pot holder or two might just mean the difference between an emergency room visit and not." So, set out to make I did.
Once I did, I thought that since there's a chance that some of you are like me, that you should have some pot holders too. Now, as self appointed safety monitor, I give you the
Easy Peasy Pot Holder Tutorial.
I am wishing the photos were a bit brighter but, twas a typically dark and drear January morning. Still, I think you can sort it all out.
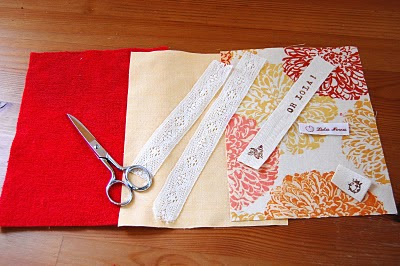
The Materials:
and this is the cool part, Made from all recycled bits, old clothes and vintagey scraps.
You will need 2 outside pieces and one inside piece (the thick bit) or lining.
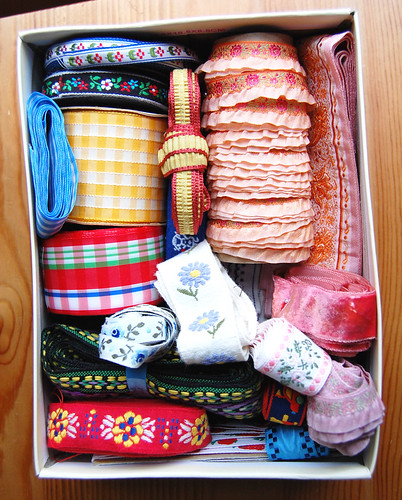
I used fabric from an old linen shirt, a tablecloth, some leftover canvas etc. for the outside rectangles (the parts that show). The inside piece needs to be "meaty" enough to take a little heat. I used an old thick towel that was about to be thrown to the rag pile for one pot holder; and pieces of an ancient wool blanket for others. It doesn't matter what the inside piece looks like, no one will see. Lastly, gather yourself some pretty things with which to adorn your pot holders of happiness. For example: lace, fabric patches, ribbon, embroidery thread...
Now for the numbers:
All measurements are in US terms.
Cut 2 outside rectangles and 1 inside rectangle to 6 1/2" inches by 8 1/2" inches.
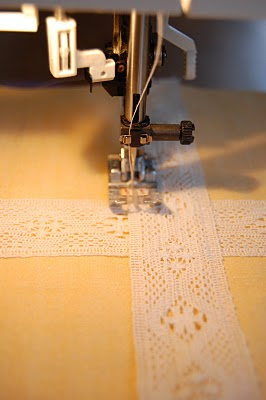
Take your two outside rectangles and...this is where you get to do as you please and prettify your pot holders. Put on your shiny ( I do not recommend using many buttons, they can melt or get scorching hot - thus negating all safety measures). Pin 'em in place if you need.

Then stitch them on nice and sturdy.
Once you have all your bits in place, it's time to put them together.
Put your inside "meaty" rectangle on the table. Take one outside beauty and lay it on top of the inside piece, making sure the pretty side is winking at you. Now, take your last outside beauty and lay it face down, so that the two pretty pieces are "kissing" each other.

Make sure that all raw edges are even and pin together.

Stitch around the perimeter of the rectangles with a 1/4" inch seam allowance, leaving at least a 2" inch opening for turning. Back stitch at the beginning and ending of your seam.
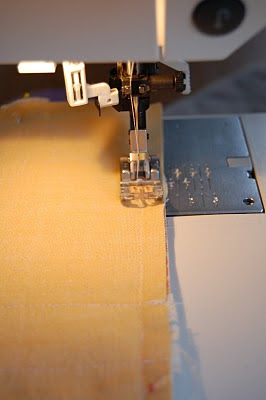
As always my dears, clip your corners - making sure not to cut through your stitching.

Turn right side out.
Fold under the seam allowance on the opening and carefully press with an iron.
Next, hand stitch the opening closed with whatever stitch you prefer.
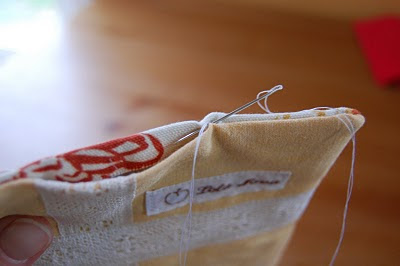
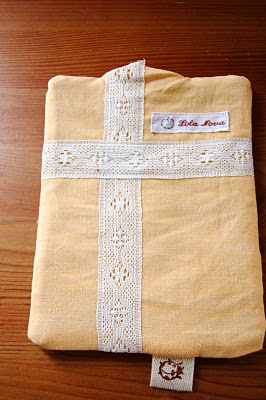
Ta Da! You now have a handy dandy and perfectly pretty pot holder of your very own!
Here is a little extra gossip;
*You can make these any shape or size you like, even a roundy one! I chose the
measurements according to what felt comfortable in my hand.
*You can include a little loop if you want to hang them from something, cause they are pretty as well as very useful.
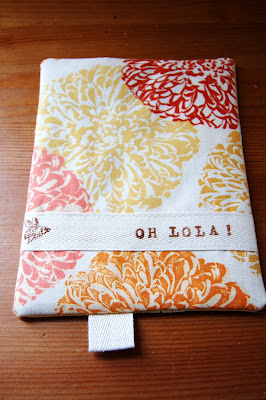
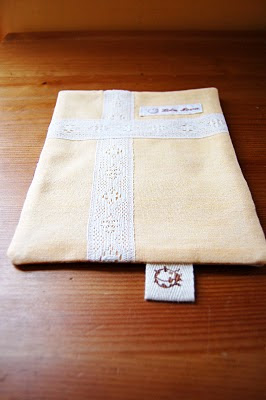
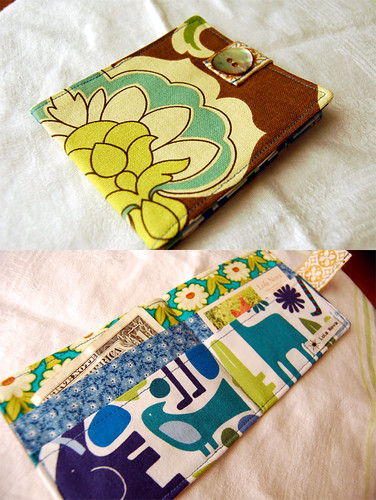
*If you are now thinking that you do indeed need a pot holder of your very own but, do not wish to bother or do not have the time for the making, the two wee cuties at the top of the post will be in my etsy
shop next week.
If you have any questions feel free to email me or leave a comment. Have fun stitching!


